Overview
The goal of this project was to explore water simulations and water rendering using the OpenGL API and C++. For this, I gathered papers and online articles on the subject, primarily drawing from the GDC 2010 talk slides titled Screen Space Fluid Rendering for Games by Simon Green at NVIDIA[2]. I also drew upon Ten Minute Physics' YouTube video for the physical simulation of particles, which I will cover in a different post.
Everything is done essentially from scratch, save for an OpenGL CMake build template I used as a basis for building the project. The template comes from Tomasz Galaj's OpenGL CMake tutorial How to setup OpenGL project with CMake[3] (the tutorial no longer seems to be available sadly, but the github template is still available).
Below is a video showcase of my progress throughout the development of the water renderer. After that, I have a walkthrough of my process for development. Here is the Github link for the project.
Video Showcase
Process
With any simulation, it is important to think about the representation for the object of simulation. Water in real life is a continous form that changes shape and can split off from the larger form in a spray. In any computer simulation, computing over continous regions is very expensive, involving integrations over some function of shape. In order to get a fast implementation, we can instead discretize over some region. Thus, for water simulation, there are two main approaches called Eularian and Lagrangian based simulation, which are essentially just fancy names for grid-based and particle-based simulation respectively.
A Eularian-based simulation is somewhat difficult to visualize in 3D, especially for a realistic rendering, so instead, using a Lagrangian particle-based representation makes things much easier. For the actual simulation, the representation uses a mix of Eularian and Lagrangian which makes the simulation more efficient and more accurate, while the rendering just considers the particle-based representation.
I started by creating a 2D visualizatoin of diffusion using a Eularian grid-based simulation, both to get familiar with water physics and to get familiar with OpenGL's compute shaders. You can see a short video demonstration below.
Since this was used to mainly get familiar with compute shaders and setup the project with OpenGL (and also because I was eager to do a 3d-based rendering) I quickly moved on to the 3d rendering and simulation.
The technique used for simulation is called PIC/FLIP and is discussed in Animating Sand as a Fluid.[1]
A particle-based rendering technique is discussed by Simon Green's talk, which, at a high level, involves taking particles, rendered as sprites, and calculating their depth. This depth is rendered to texture and smoothed to create the appearance of a continous surface. Finally, the normals are extracted from the depth texture and form the normals of the water itself. Having extracted the normals, we can perform traditional rendering techniques for shading, reflection, and refraction.
With that, in the following section I will cover my implementation of this high-level idea and any problems I encountered during my implementation.
OpenGL Implementation
There are four major steps in rendering the water. The first step is to render the particles as sprites with their depth rendered to texture. The second step is to perform a blend on the rendered texture. The third step is to extract normals from the blended depth texture. Lastly, we render the water using the Phong-illumination model.
Step 1 - Depth Texture
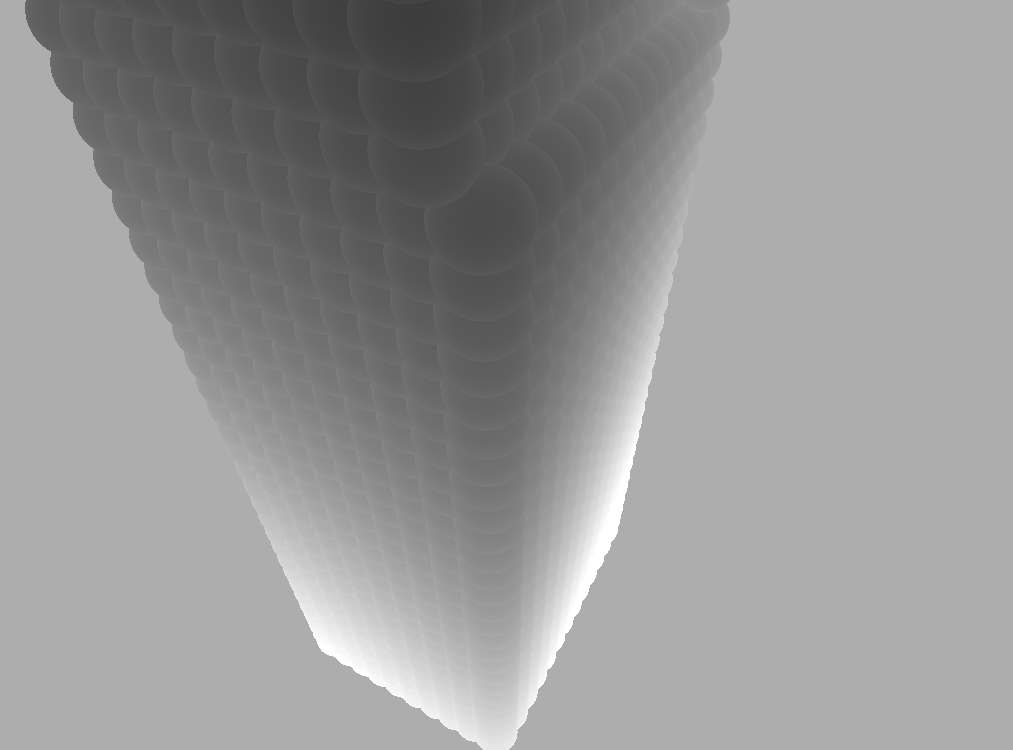
In the first step, we need to render particle sprites at the positions of each particle. The positions are stored in a 2D texture for simulation on the GPU, so we take in the particle ids as UVs rather than positions in the rendering shader. I used GPU instancing for rendering the sprites since each particle renders the same 2D, screnn-space quad just at different positions on the screen. Rendering the depth, we can see the result to the left with a rectangular section of water.
Instancing is a technique for rendering the same or very similar models many times without passing the same information across the bus to the GPU multiple times. A tutorial on how it is done can be found here.
Step 2 - Blended Depth
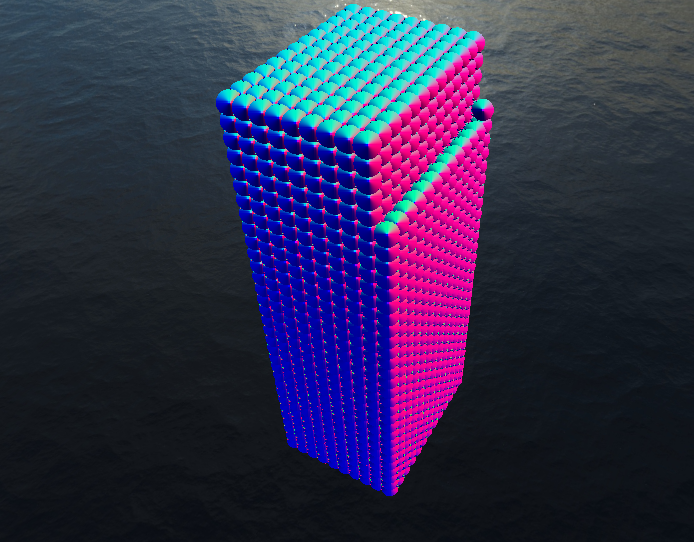
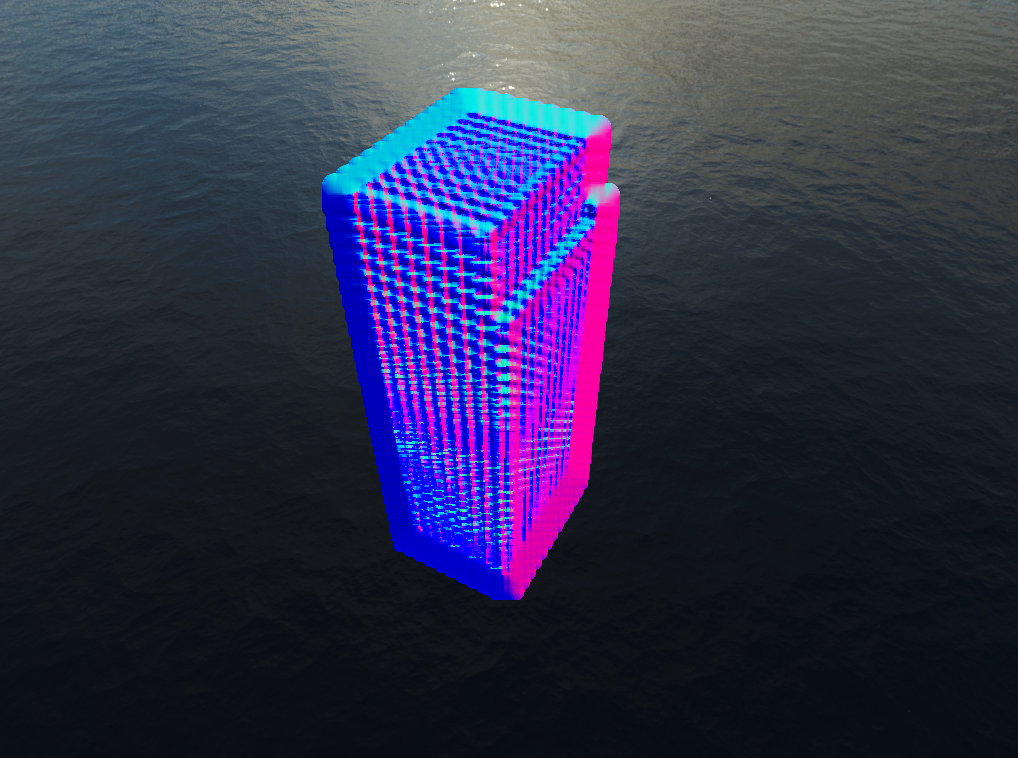
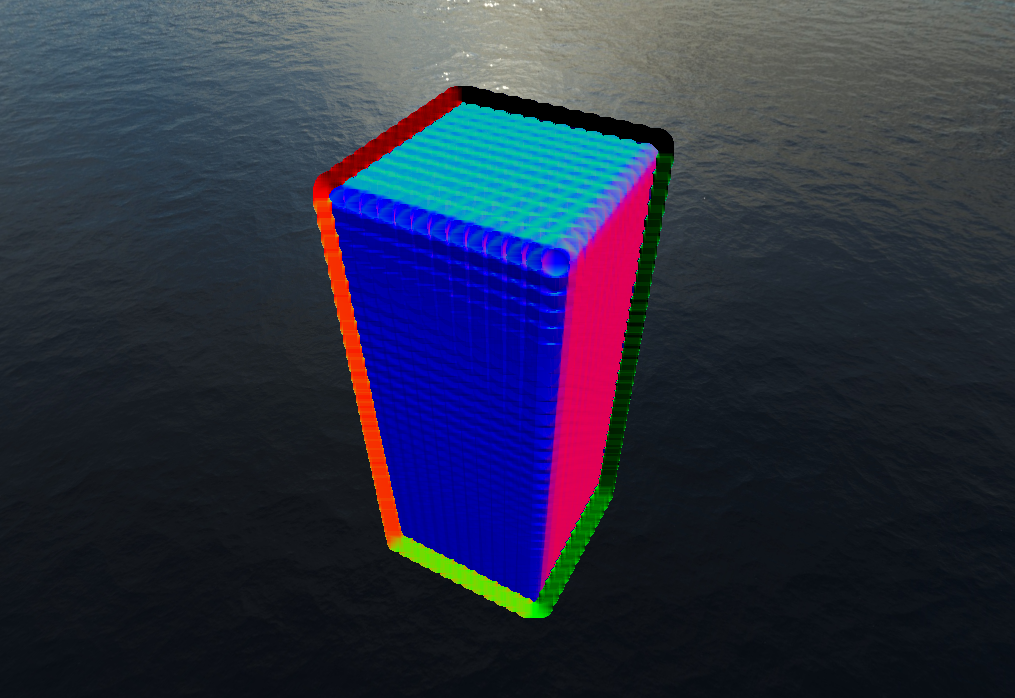
The next step blends the depth texture, producing a new blended texture. For this, I used a Gaussian blur, although the talk recommends a Bilateral filter to perserve in the water holes in the resulting depth texture. I found that my bilateral filter did not blend the depth texture enough however, as shown to the right. The changes in color are just due to differences in how I rendered the normal vector.
Step 3 - Normal Extraction
The next step extracts the normals from the depth texture, the result of which you can see in the pictures above. This step comes directly from Simon Green's talk and is the core of why it is an efficient screen-space rendering. Since we only consider the depth texture of a 2D rendering of water, we can quickly render an approximation of how the water should look if we extract the normals.
The normals are extracted with the following steps:
- Calculating the view-space position (the slides call it eye-space) of the texel of water given the UV and depth. This is fairly straight-forward, simply taking the homogenous-space position from the UV and depth then multiplying by the inverse of the projection matrix. This is what it looks like in my shader:
vec3 GetViewPos(vec2 tex_coord) {
    vec4 hs_pos = vec4 (
        2.0 * tex_coord.x - 1.0,
        2.0 * tex_coord.y - 1.0,
        2.0 * texture(depth_tex, tex_coord).r - 1.0,
        1.0);
    vec4 vs_pos = (inv_proj * hs_pos);
    return vs_pos.xyz / vs_pos.w;
}- We then calculate the view-space position of nearby points in positive and negative x and y. We do this to get vectors that are tangent to the surface of the water based on the depth texture. It is an approximation, but allows us to get a fairly realistic normal by cross producting these two tangent vectors. I discarded any normals that were pointing directly in the Z axis in order to keep the background of the scene clear, however, a much better approach would have been to use a stencil buffer to render to only sections of the screen with water. The code I used is as follows:
Step 4 - Rendering
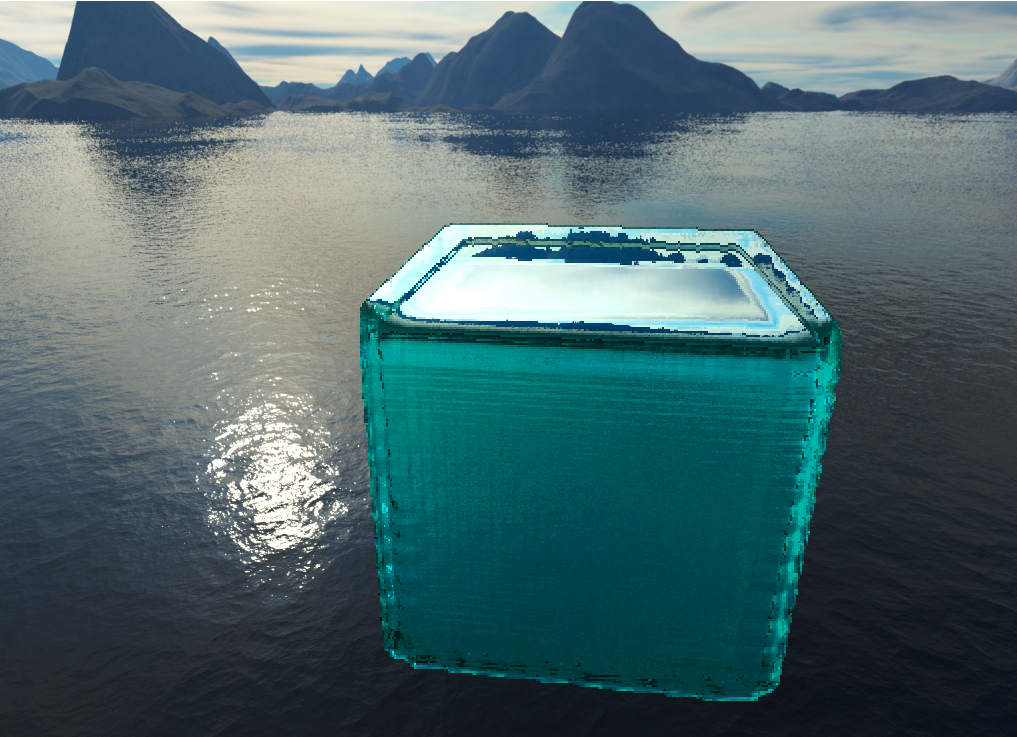
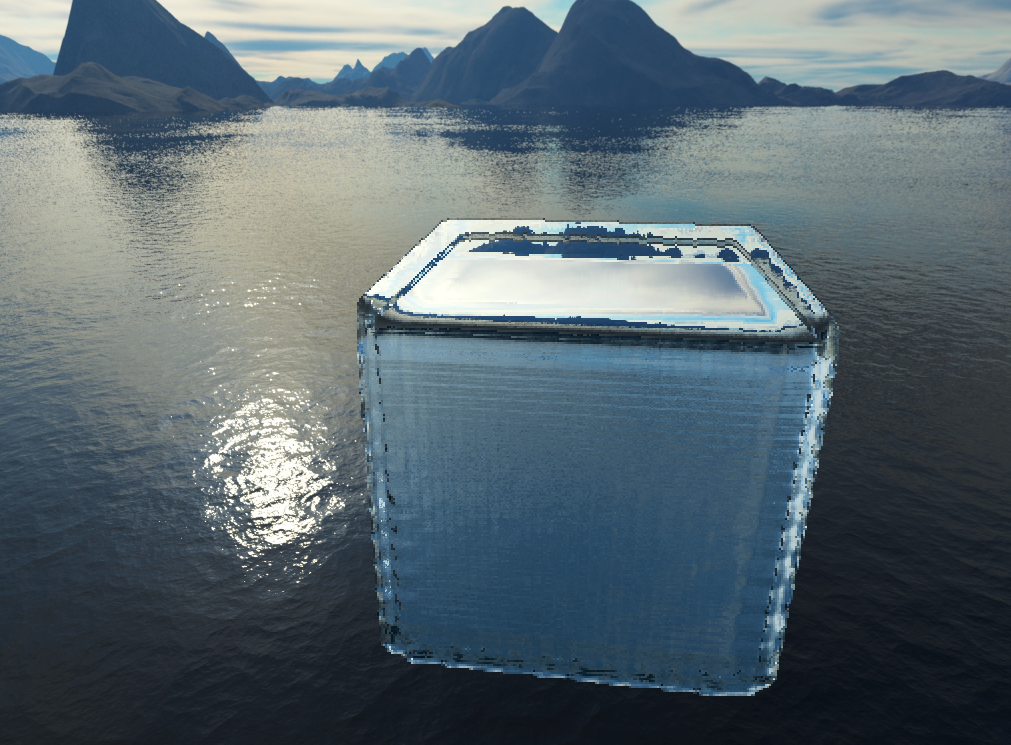
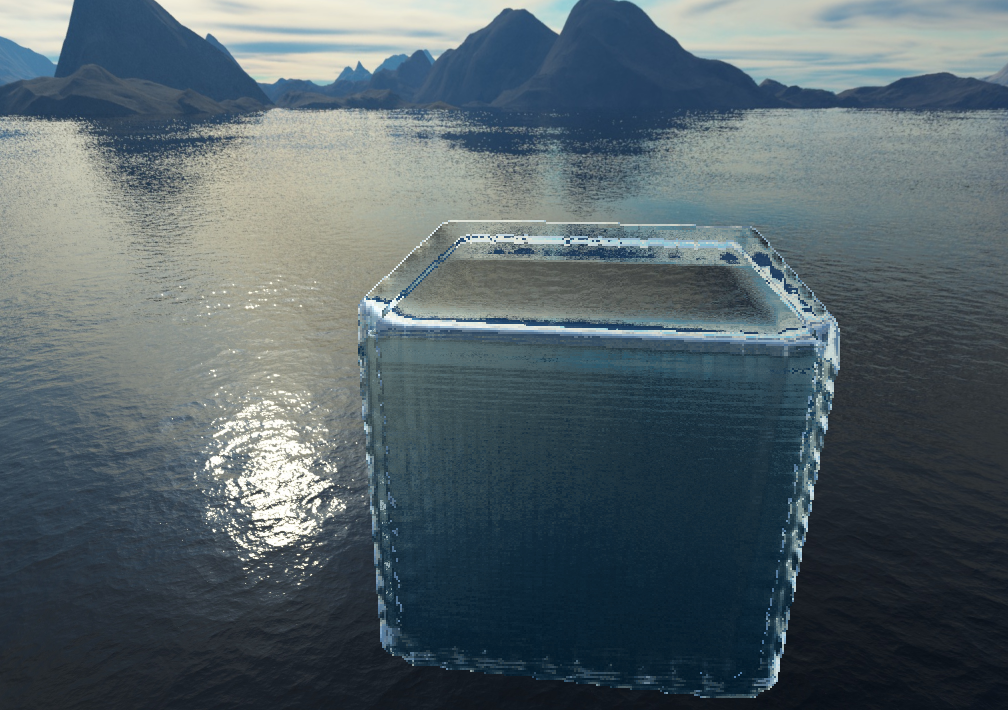
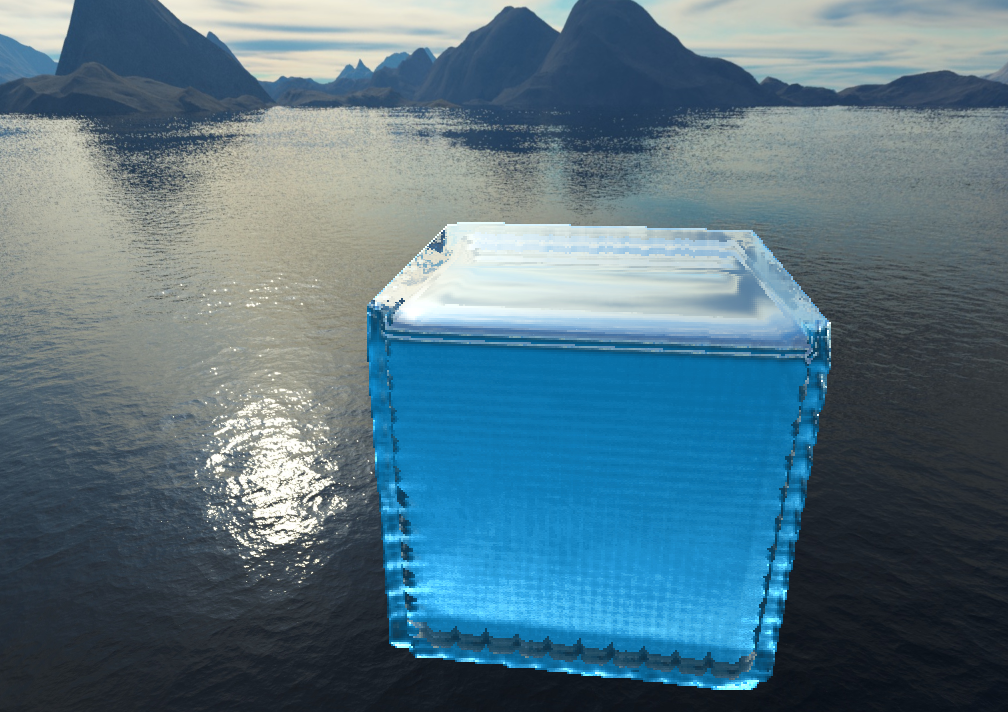
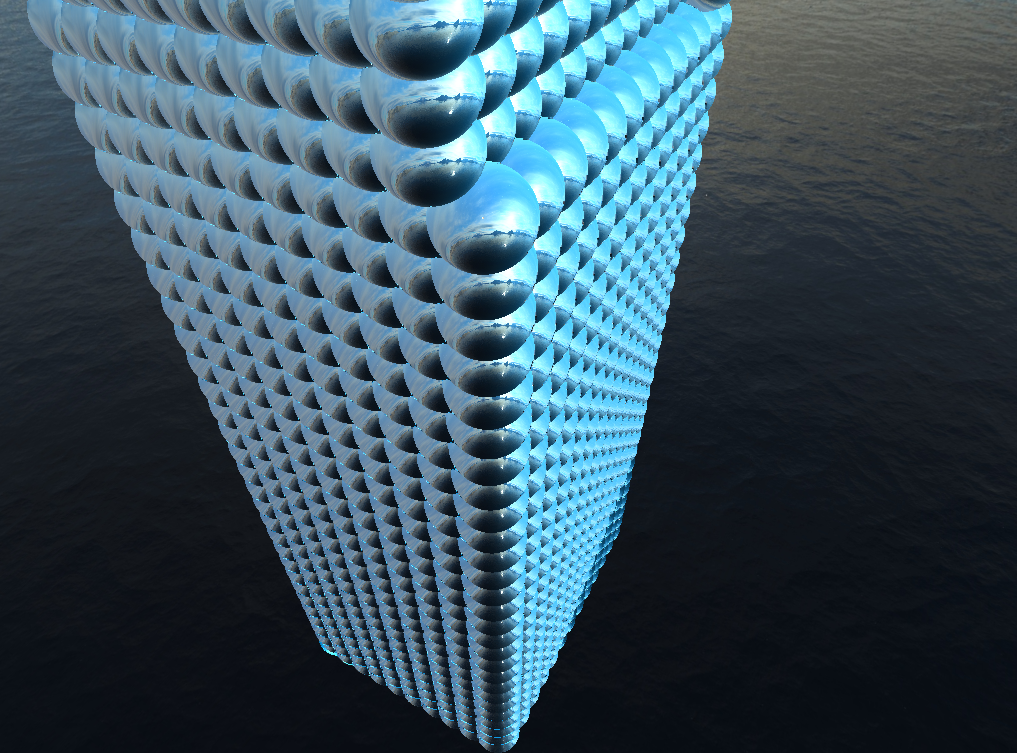
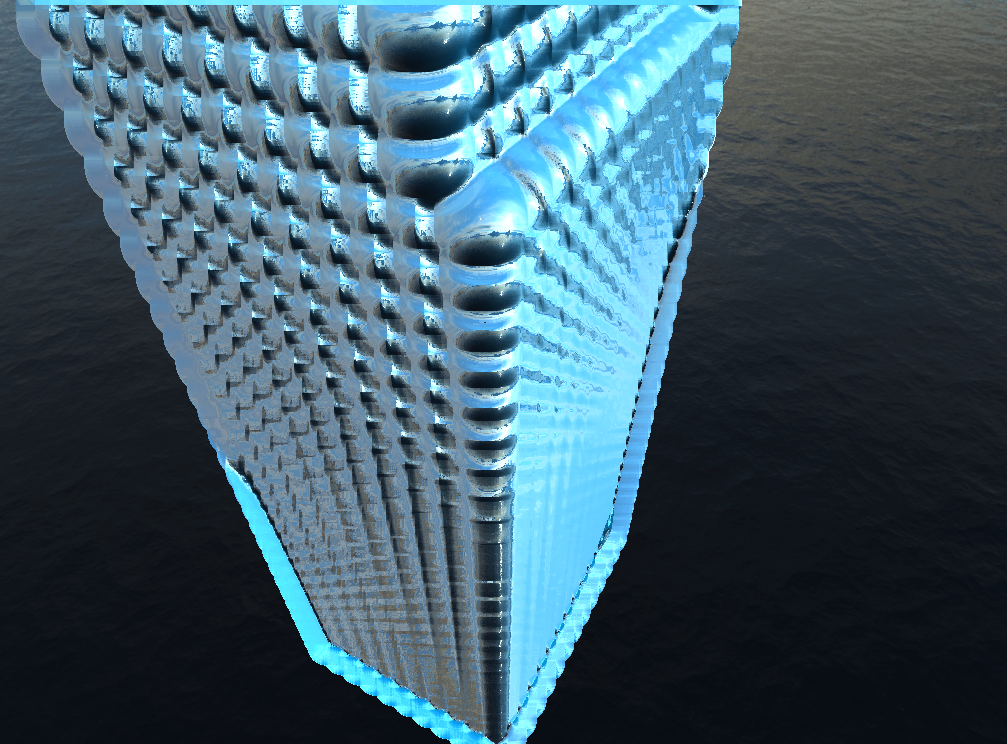
With the normal extracted, the last step is simply rendering the water using some illumination model. I used Phong illumination with a cube-map to sample for rendering reflections and refractions. The results at various different steps are shown below.
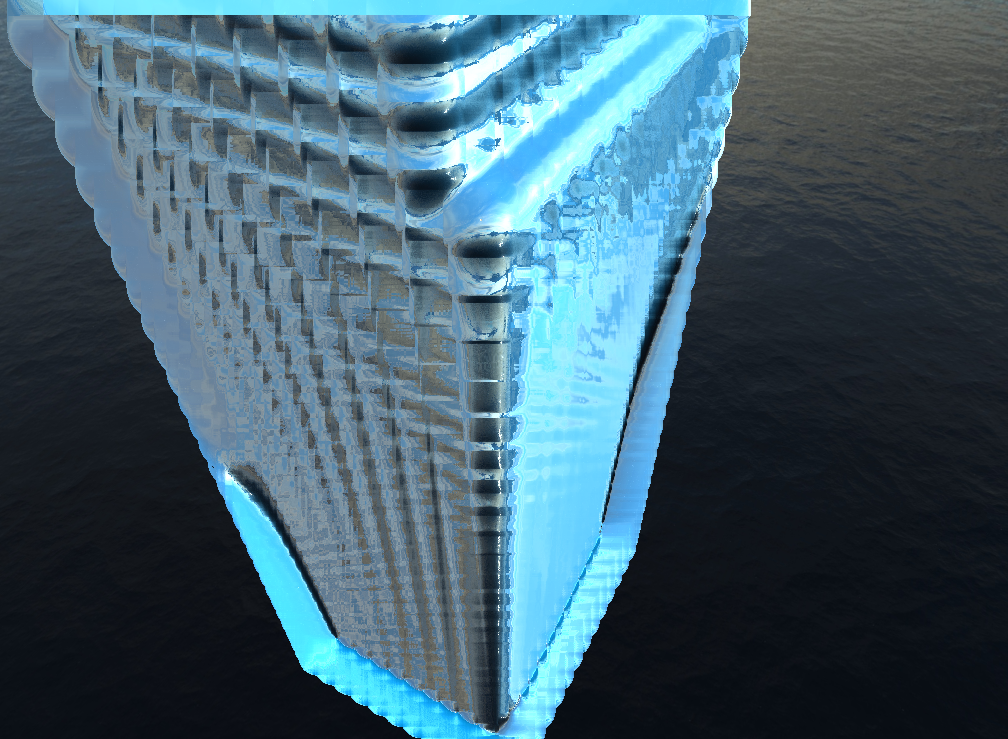
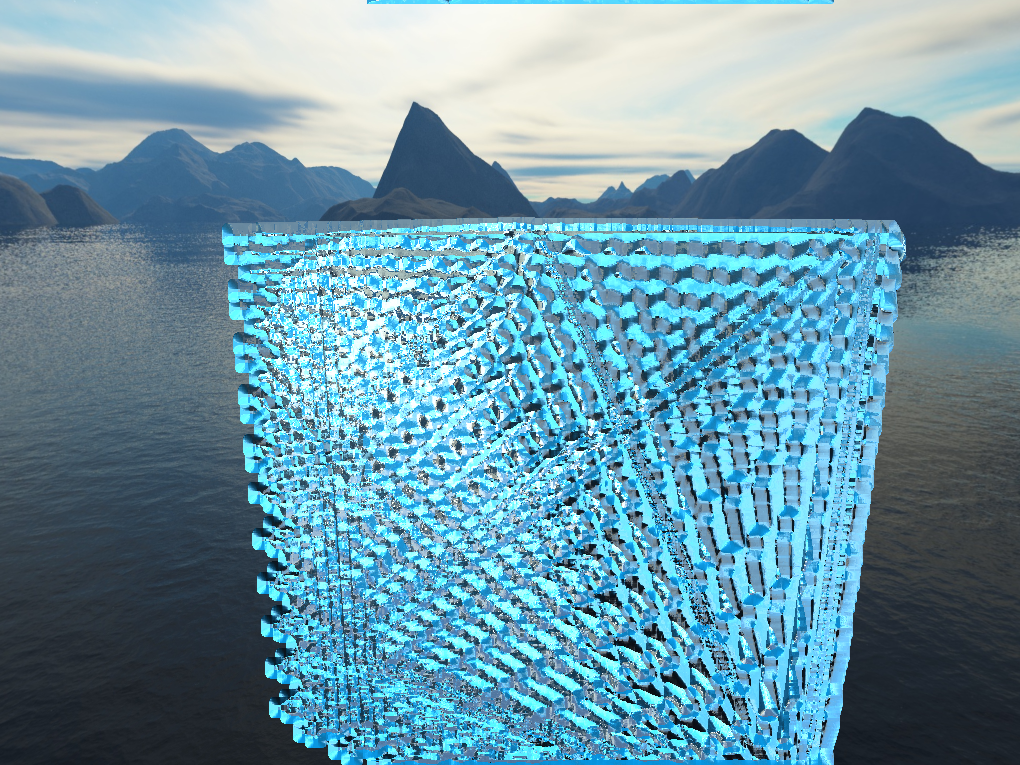
Cleanup
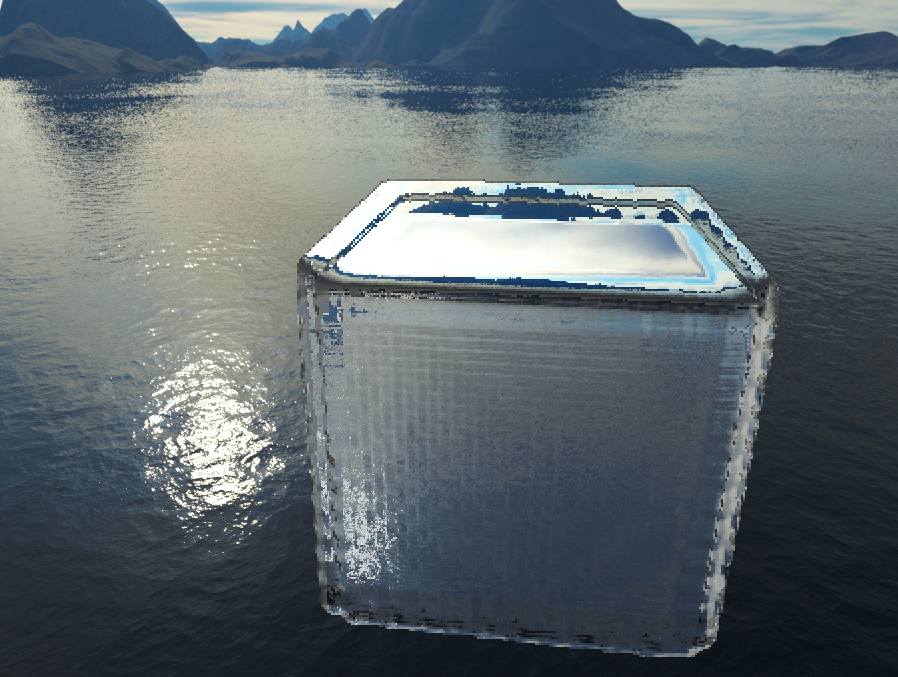
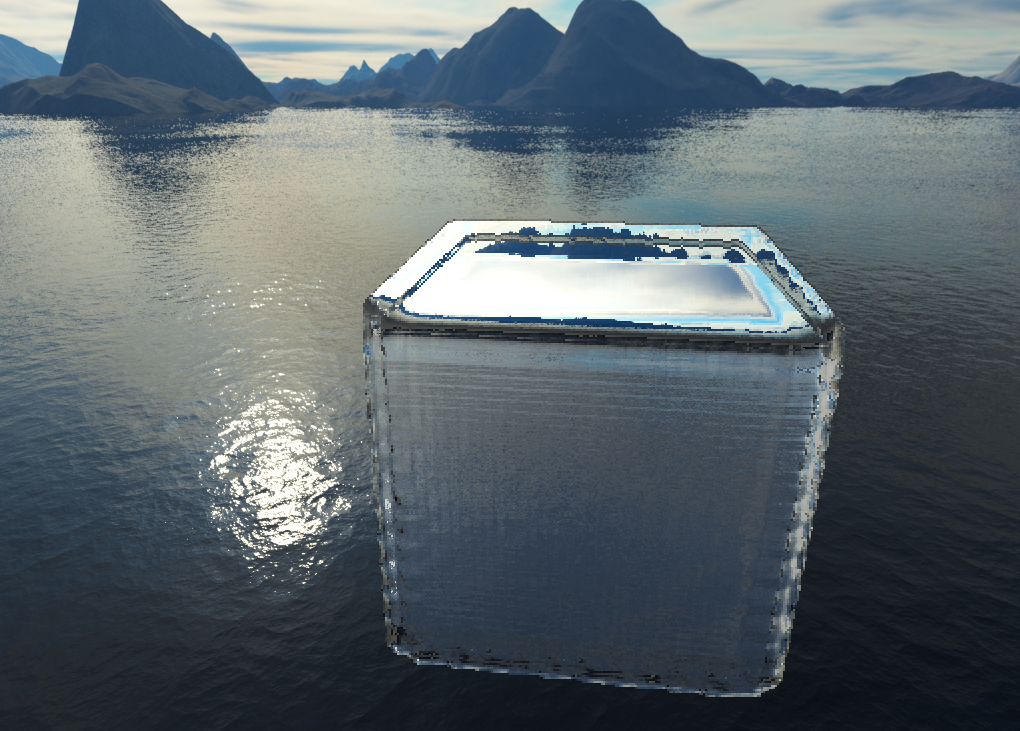
You'll notice in the pictures above, the water doesn't appear perfectly realistic. There are artifacts along the edges of the water and the particles are still fairly visible. There were two fixes I came up with for the artifact problem. The first was to simply render the depth texture at lower resolution. We can do this because accuracy isn't as much a concern as getting the water to look realistic. This ended up having a pretty significant improvement, which you can see going from the left picture to the right picture below.
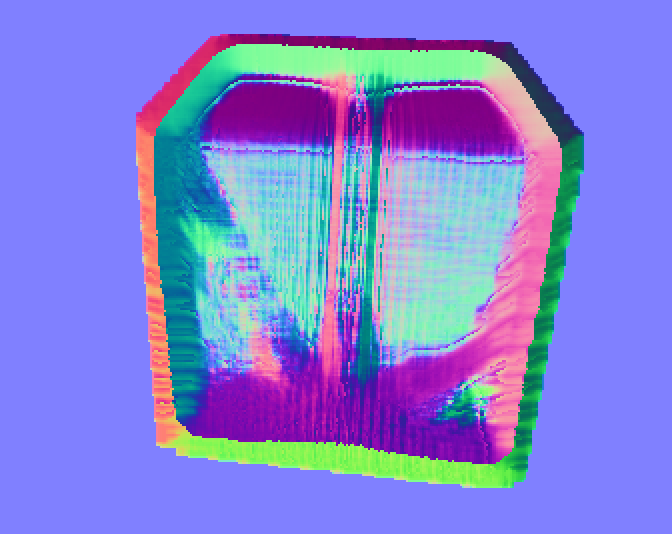
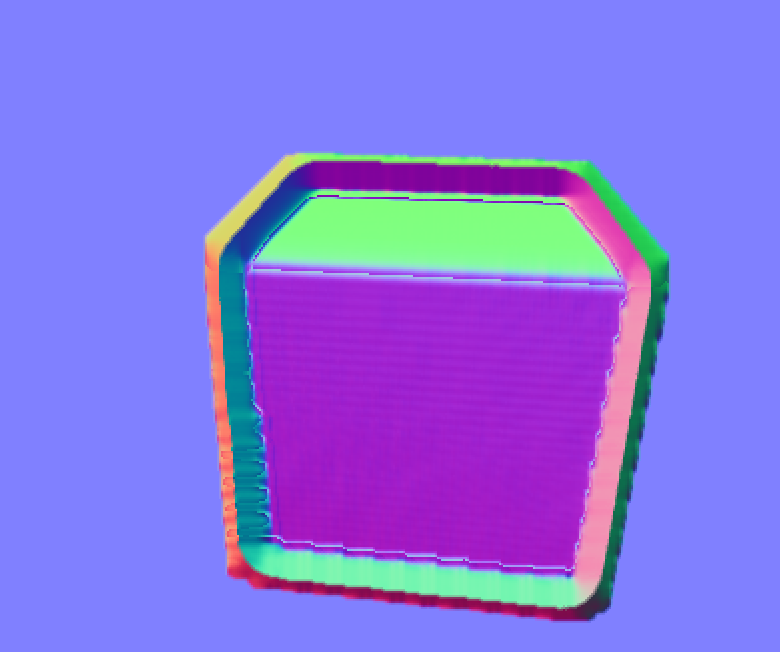
The second fix, which solved the artifacts at the edge of the cube came when I examined the pictures above. The problem clearly came from blending, but the Gaussian filter was being applied properly. The actual problem was it was blending the background color of the image with the normals of the water. This was a fairly simply fix, simply ignoring any normals from the background which shouldn't be considered anyways. With that, you can see a big improvement to the render.
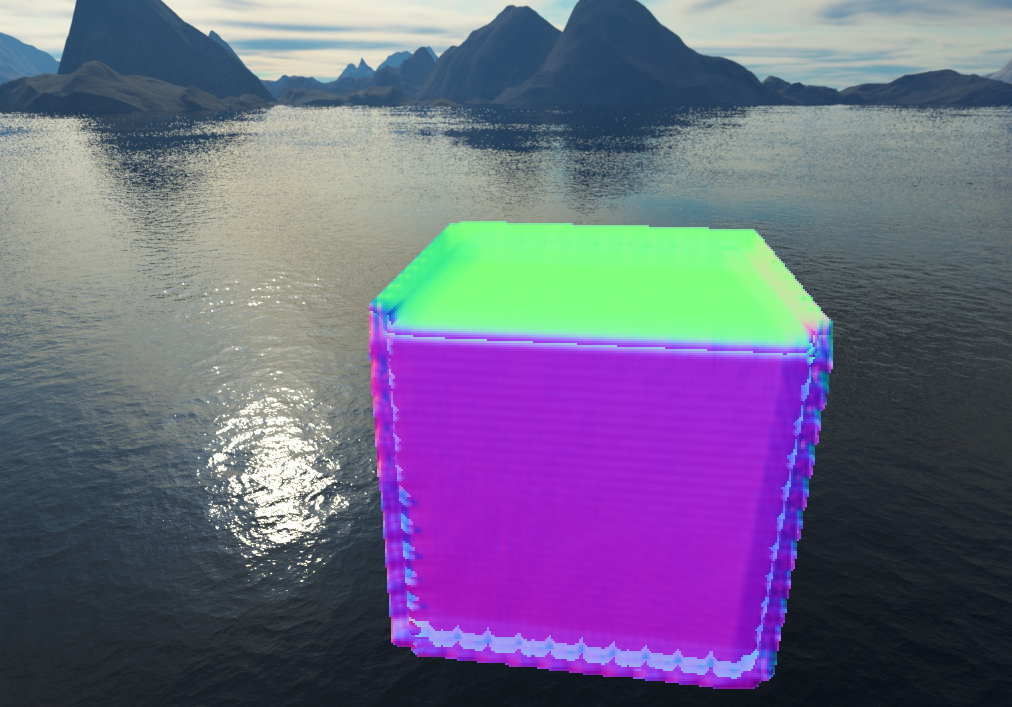
With that, we get a much nicer final render and all that's left is messing with the parameters for the illumination model to get a good looking effect. I messed with various appearances which you can see below.
