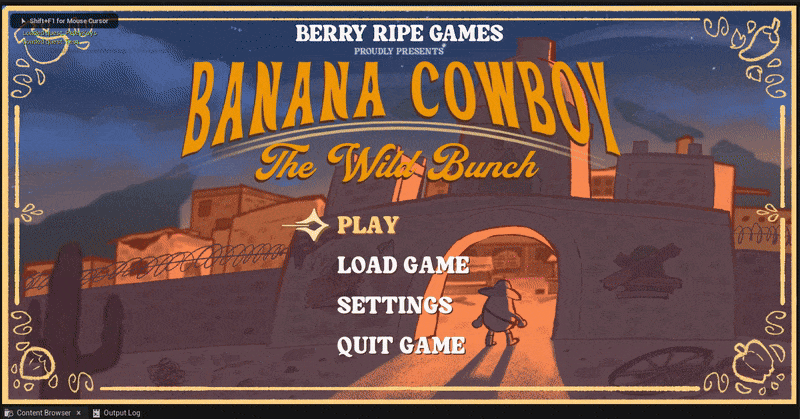
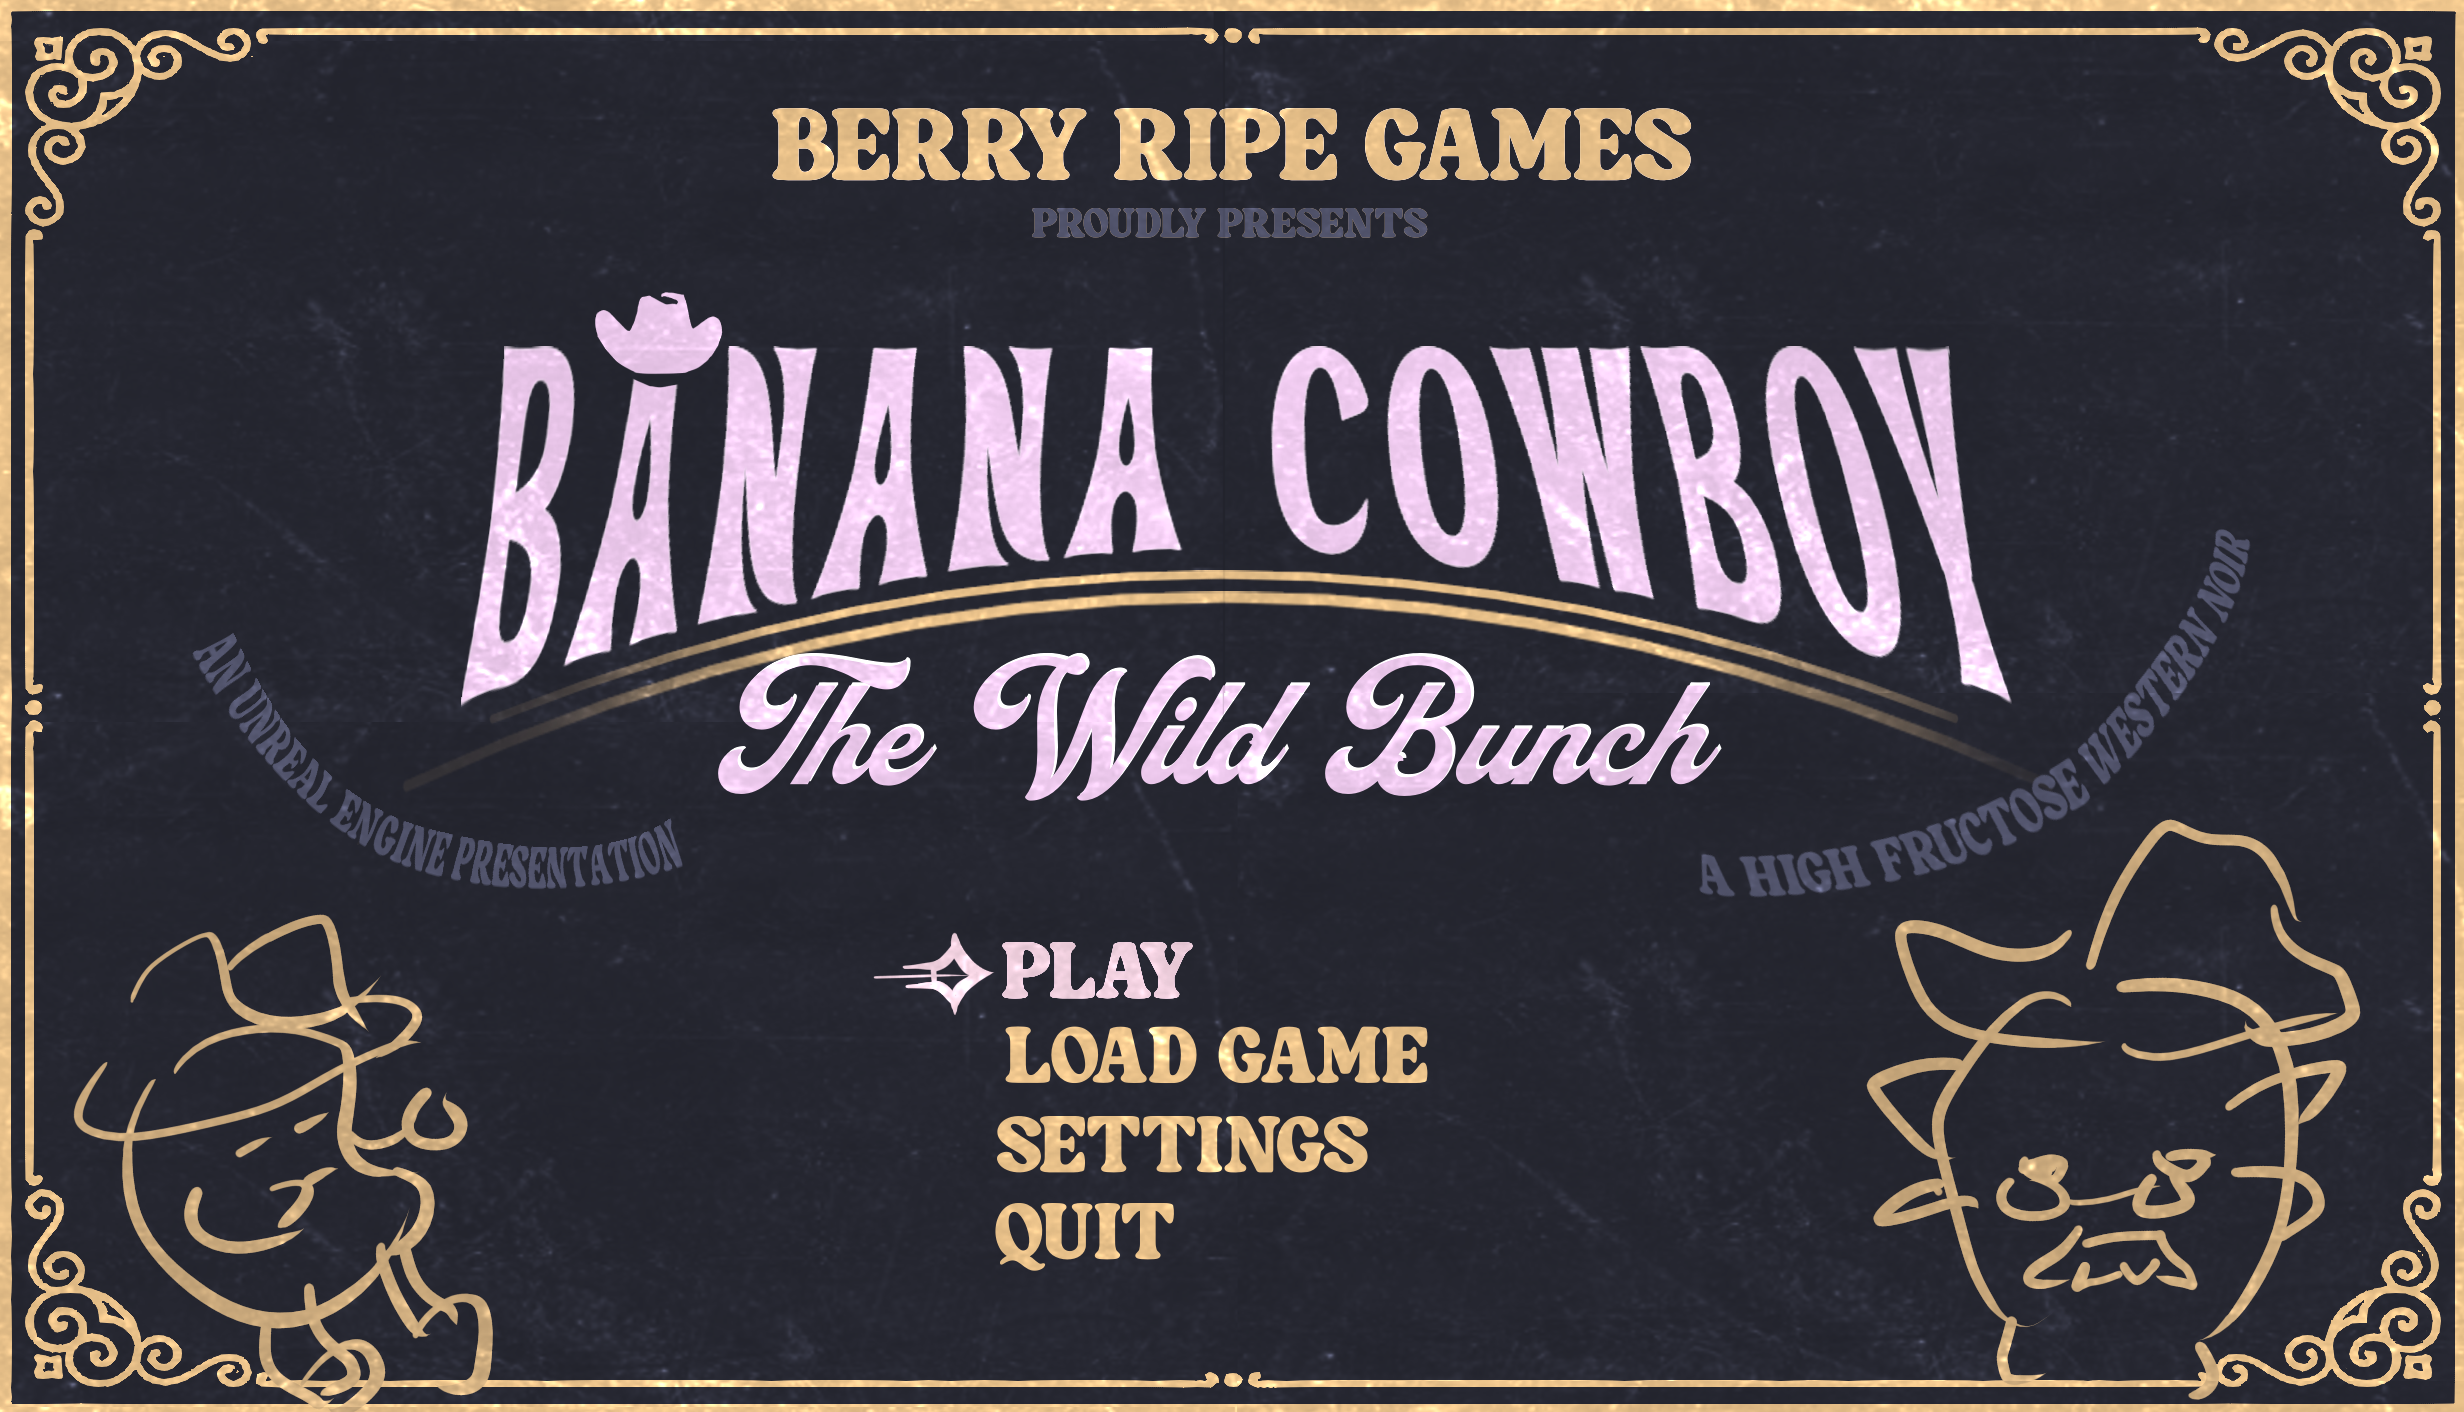
Banana Cowboy: The Wild Bunch
Banana Cowboy: The Wild Bunch is a continuation of Banana Cowboy with a much more polished and full featured gameplay. The game started due to the positive feedback we recieved for the original game as just a student project. We expanded our team, gaining talent with industry experience to help bring the game's goals to fruition.
This article will cover the features I developed for the game, as well as document the major milestones for the game's development (noteably our switch from Unity to Unreal).
Unity Development
We began our polished remake of Banana Cowboy using Unity, as it was the engine we had used for the previous game and thus the one all members of the team were most familiar with. However, eventually the cons of Unity began to pile up and we had to switch to Unreal later down the line. That process, as well as the development in Unreal, will be described later in this article. This section will contain features developed in Unity.
In this Unity section, I will showcase all the features I programmed, but not go in to detail as many of the features were re-made as part of the switch to Unreal.
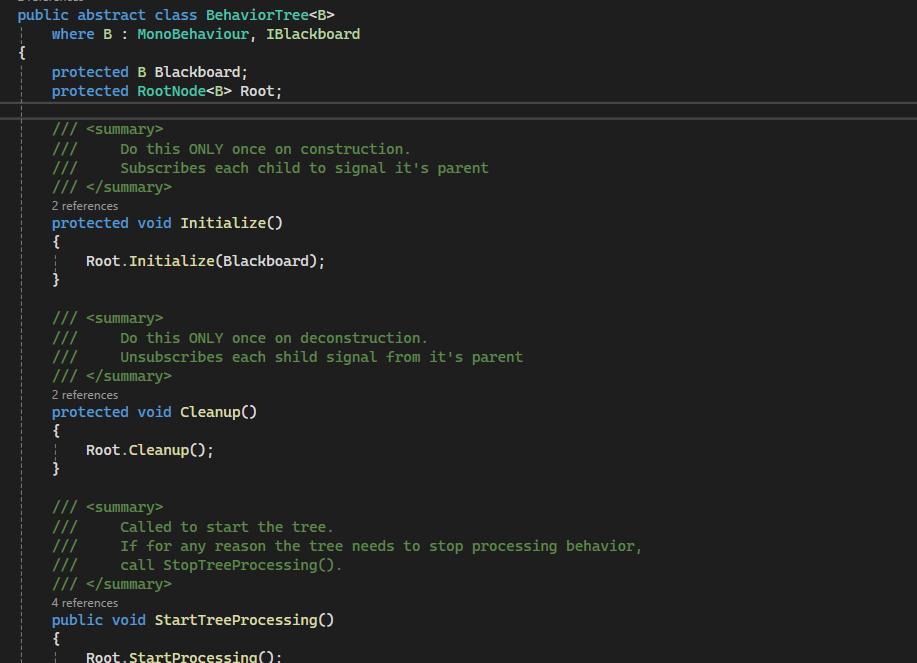
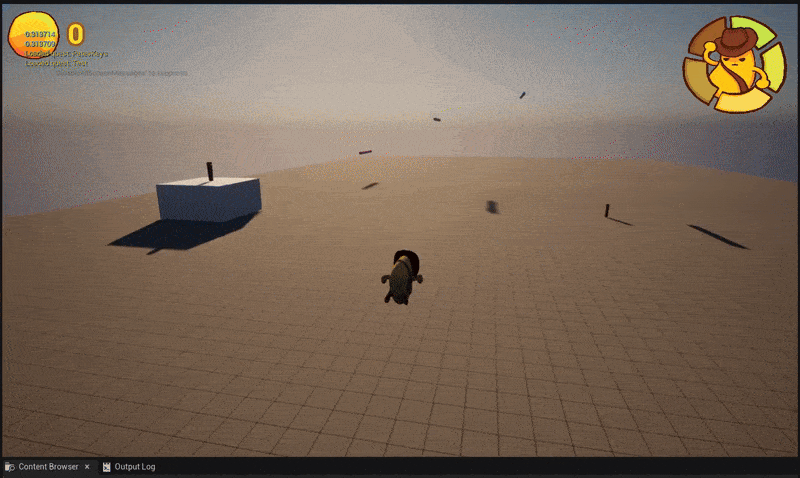
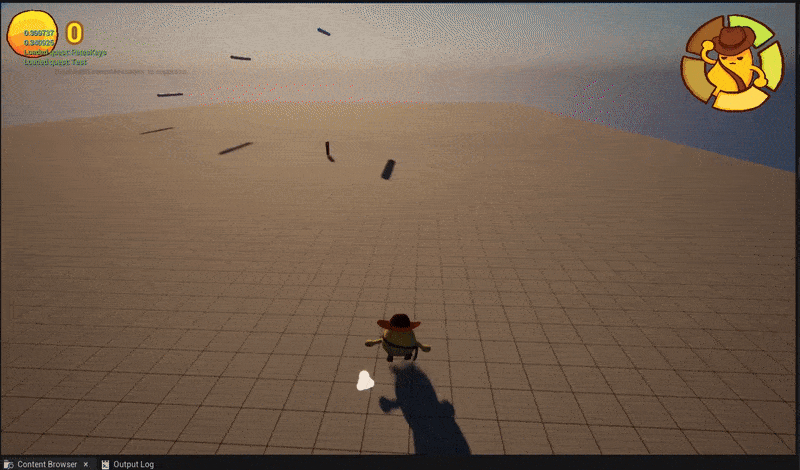
Player Controller
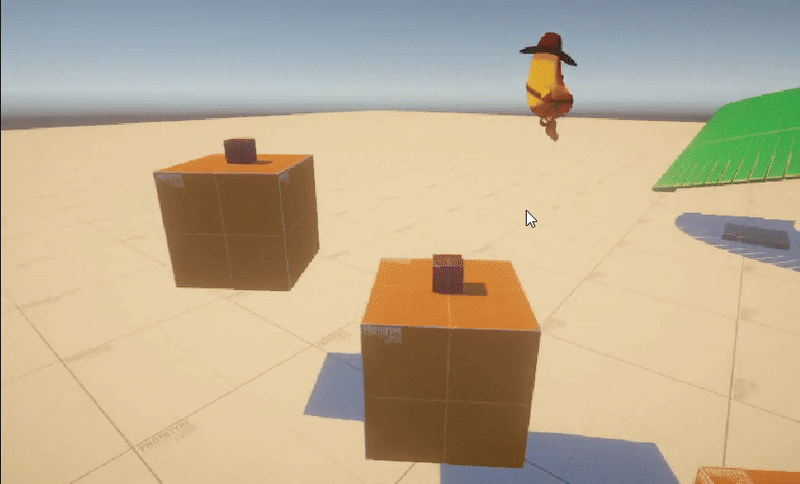
Lasso Abilities

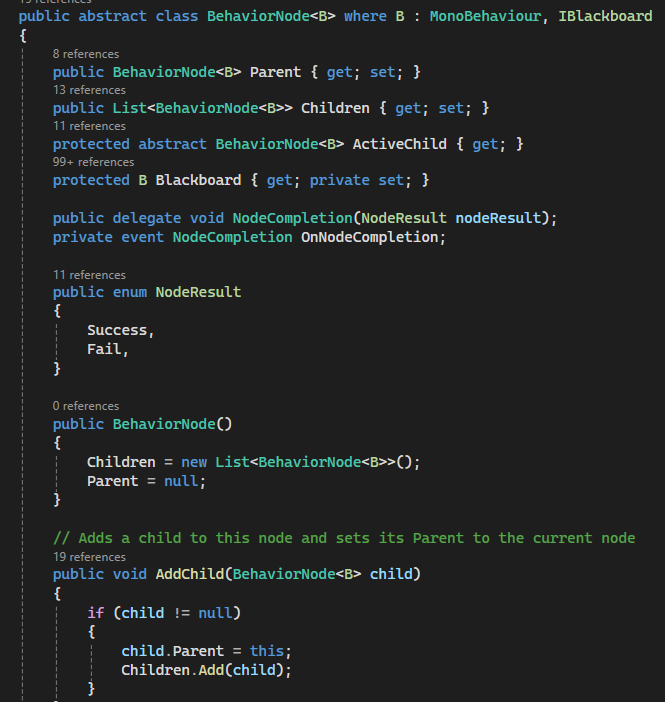
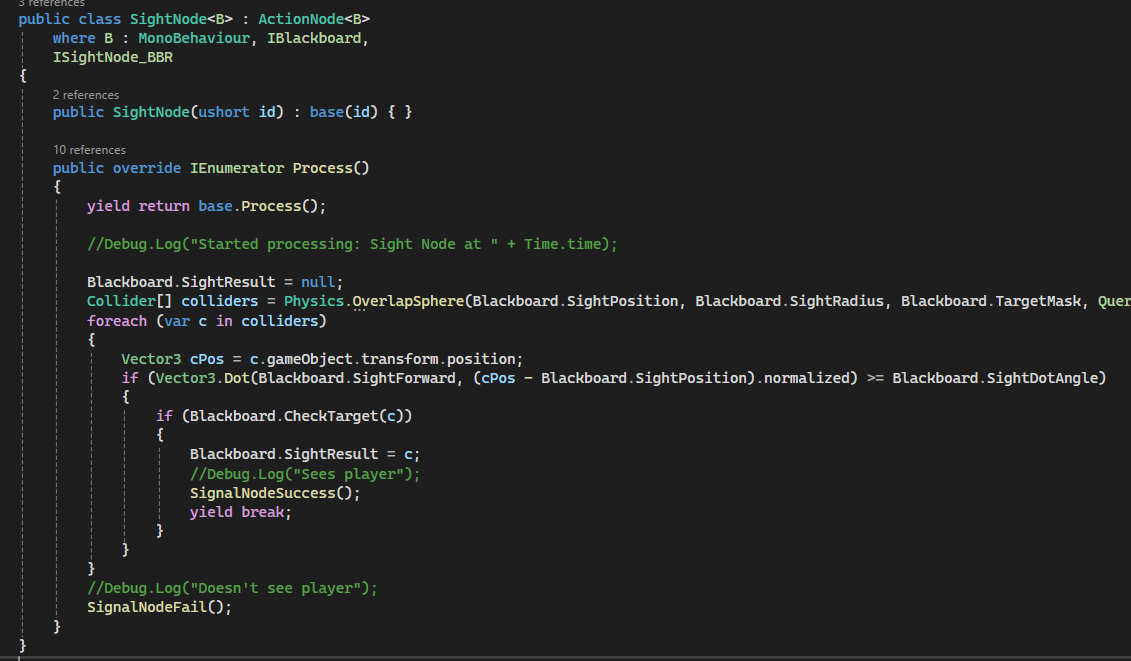
Enemy AI - Behavior Trees
Behavior Tree Abstraction with Nodes with event driven responses for performance
Unreal Development
One of the main cons of Unity is that there are not a lot of features provided out of the box. As developers, we had to design and implement many features that are common across many games, leading to lost development time debugging what is essentially game programmer boilerplate. The leading example of this is the Kinematic Character Controller for Unity, which I had to develop from the ground up, using what I could find online as an example. In Unreal, not only is there a character and controller class framework given, it is extremely straightforward to modify to suit the needs of the game due to its modular nature.
This problem of implementing common features and systems from the ground up kept reoccuring. The player controller, the camera system, the enemy AI, inverse kinematics, and level layout tools; All required tools to be built by us. We tried to use tools pre-made for some problems we were running into (such as a terrain sculpting tool), but found that the development of such tools in Unity was lackluster, often being left out of date for official tooling. Additionally, the tools that were available required learning from documentation that may have been outdated or required using user interfaces that were unintuitive.
When we sat back and realized this problem with Unity was going to continue happening throughout all of the development, we starting considering Unreal. It provides much of what we were lacking in a much more user friendly way. Since the level designers and artists were already learning new tools, the major brunt of the switch would have to be endured by the programmers for re-making many features in C++ and Blueprint. As the lead programmer, I made the decision that this would be worth the switch in the long run.
Thus we began a learning period for Unreal and the switch from Unreal to Unity for our development.
For our learning period, we used Unreal's intro documentation as well as the Begin Play Unreal tutorial series.
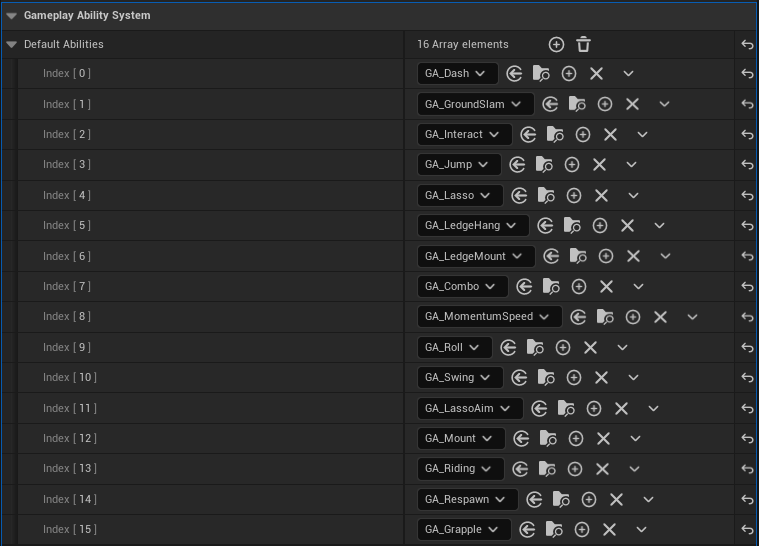
GAS Framework
During the learning period, I had discovered Unreal's Gameplay Ability System framework for programming player and enemy gameplay features. The framework is incredibly extensive and flexible, providing a system to track state, cooldowns, activations requirements, and subtasks for a player's abilities. While designed for MOBAs and RPGs, the flexibility and modularity of the framework appealed to me for the design our player's moveset and lasso feature.
Player Programming
For the player programming, I utilized the GAS framework extensively, creating attribute sets that define parameters for each ability that could be adjusted by modifiers during runtime (such as jump height, movespeed, roll speed, coyote time, etc.). The end result is a highly configurable setup for each ability for the player, all of which can be easily removed and added by designers. This framework and design also allowed us to consider multiple characters, each with the ability to share abilities or have their own with slight variations thanks to attribute set modification. I coded all abilities in C++ with configurability in Blueprint.
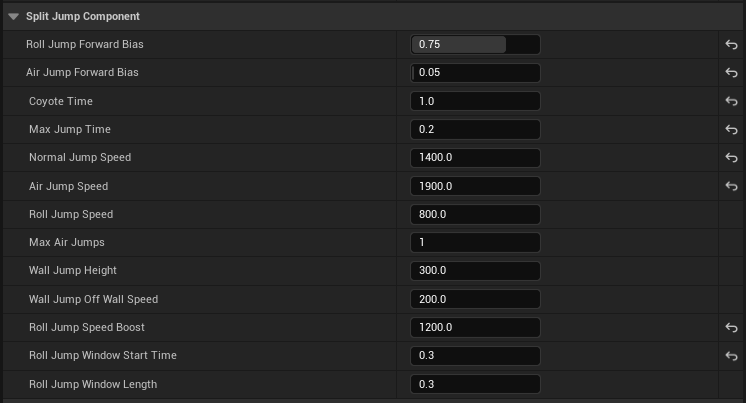
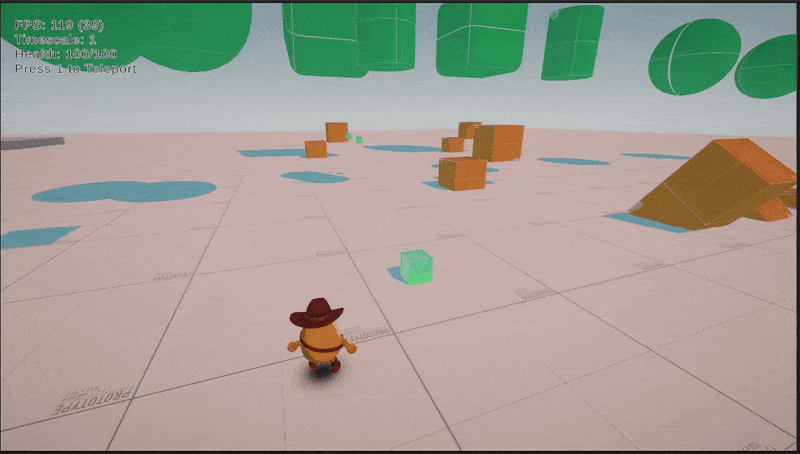
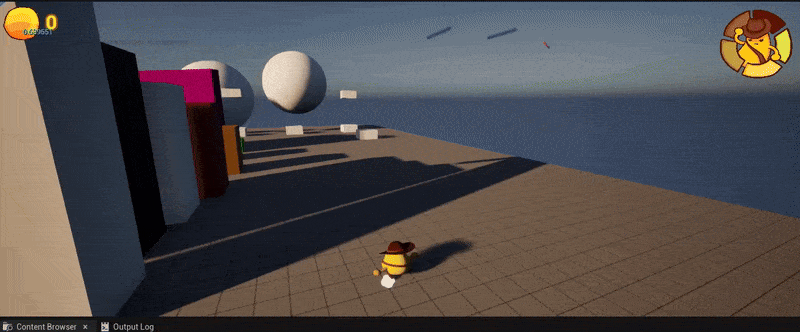
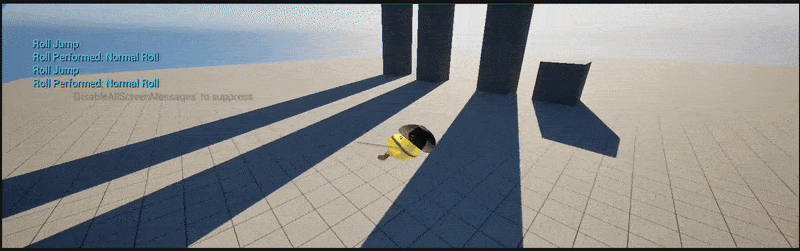
Movement Abilities
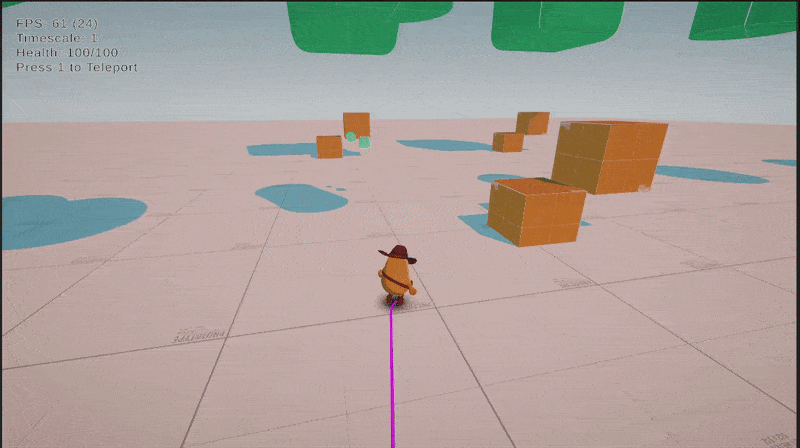
Here are showcased some of the abilities in action, including ledge hanging, coyote time, rolling, jumping, wall sliding, and momentum speed (where the player maintains extra speed after completing a movement combo).
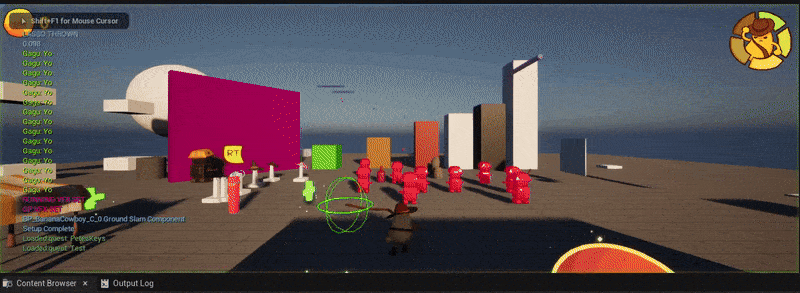
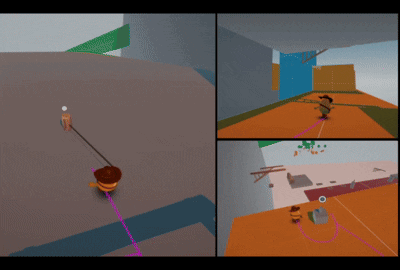
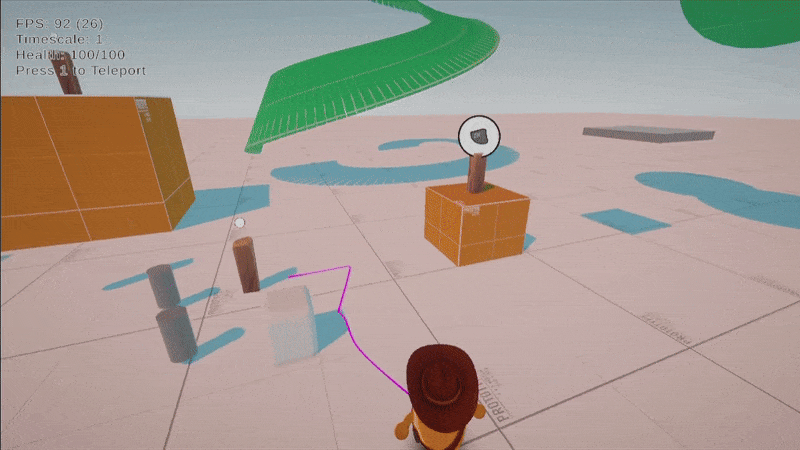
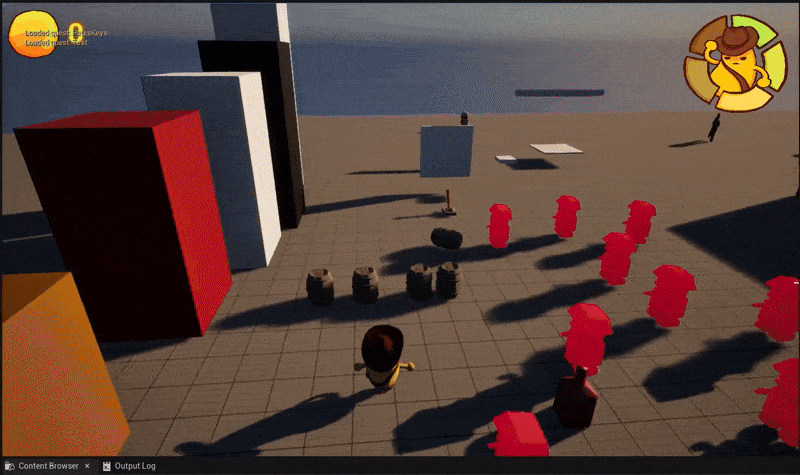
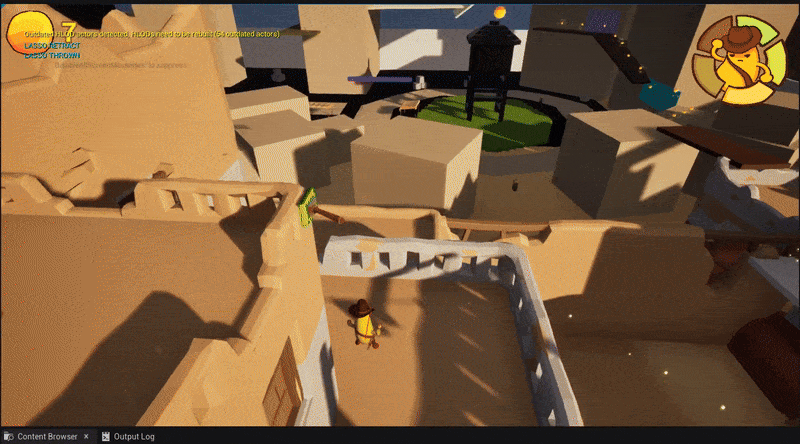
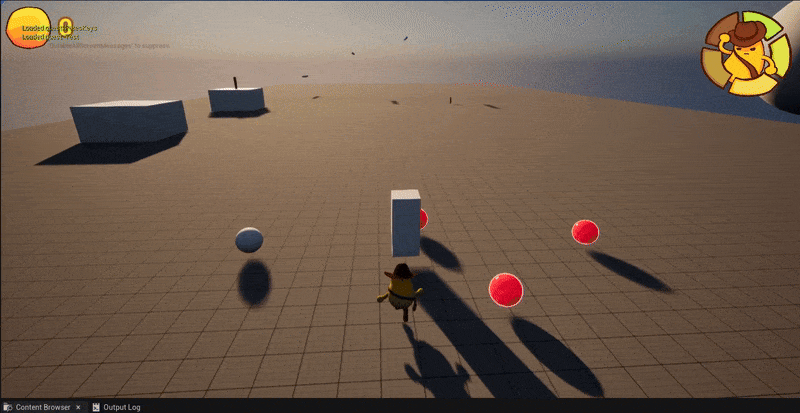
Lasso Abilities
Beyond the base moveset of the player, I also programmed an extensible base interface for the lasso system for the player. This system was designed heavily around the layout of a controller, where the player would hold the right trigger to control their hold with the lasso, and the face buttons would control the response and desired ability activation. This design, while providing a true all-use utility for the lasso, ended up being too complex and frustrating for players, so we switched to a much simplier, one-action per lassoable design.
I then used this framework to program the dash post, grapple post, swing anchor, throwables and enemy lassoable.


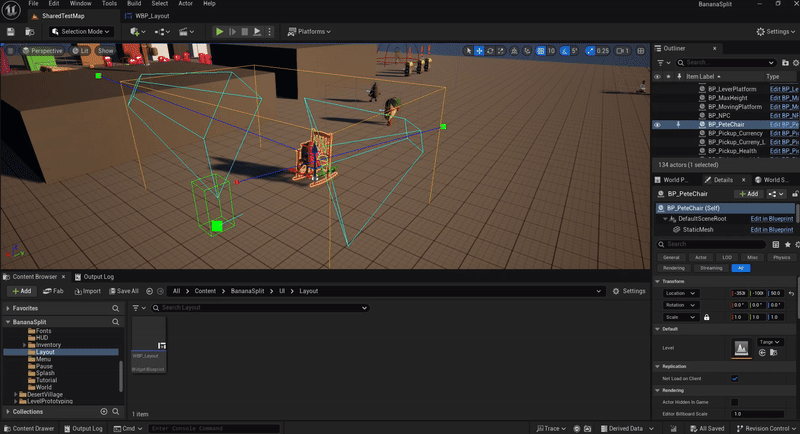
Interactables and Cosmetics
I created a cosmetic system for the player to equip and un-equip different models to sockets of the player model. Alongside this, I developed an interaction framework, which was used for cosmetic equip points, as well as future level elements and npc interaction.
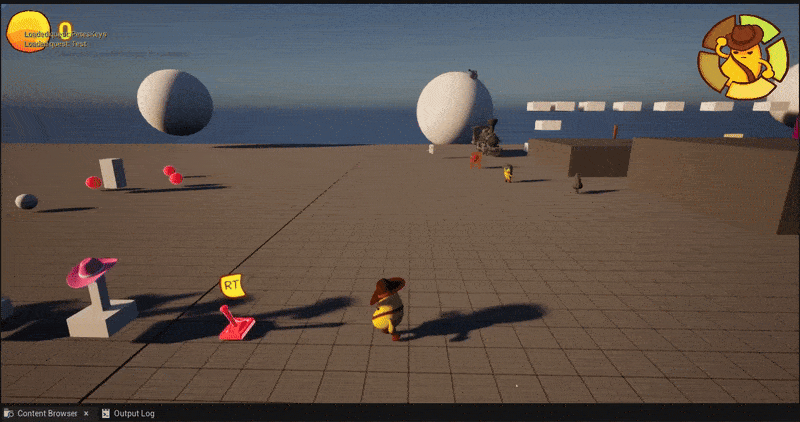
Horse Riding
I programmed a new movement state for the player where they mount and ride a horse, steering left and right, with the ability to "giddy up" to increase the speed of the horse.

Camera Hints and Constraints
I implemented custom camera constraints and hints framework for designers to use when building out levels, providing ways to hint to players the direction to go as well as frame platforming interactions automatically. Additionally, I modified the base camera provided by Unreal to automatically look in the direction of movement when no input by the player is provided.


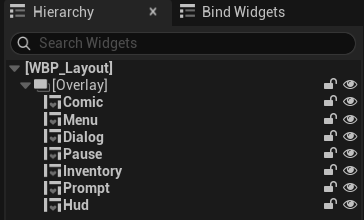
UI Layers and Controller Interaction
Designed and implemented a UI layout manager, which handles layers of UI to prevent conflict between the inventory, hud, pause, menu, comic, and dialog layers, both for display and for controller navigation. Also implemented a custom controller UI interaction system utilizing Unreal's Enhanced Input system and Input Mapping Contexts.
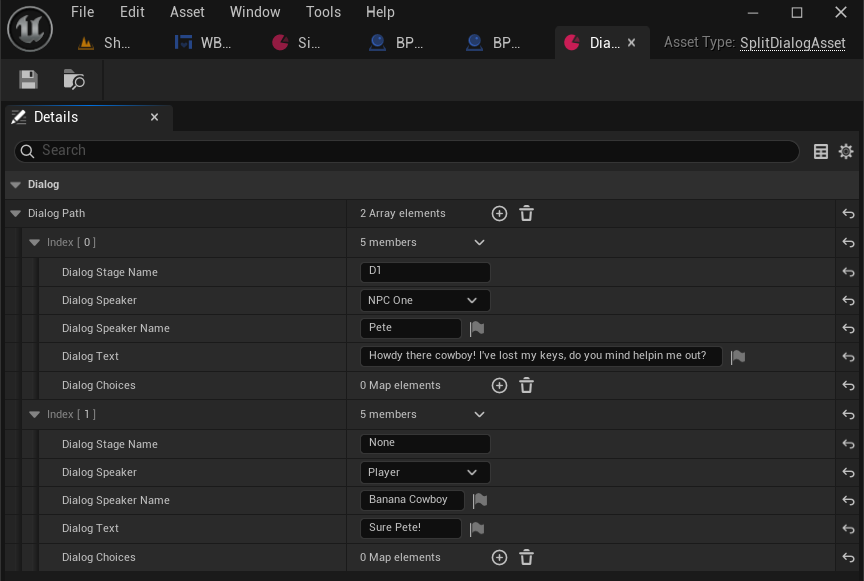
NPC Interaction and Dialog System
I designed and implemented the dialog and NPC interaction for the game, utilizing Unreal's data assets for a custom dialog asset (shown to the right), as well as creating a custom editor plugin to allow designers to configure each NPC's dialog camera interaction.
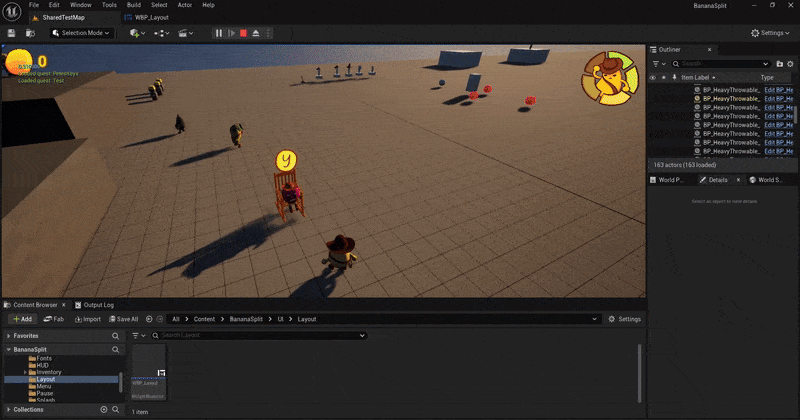
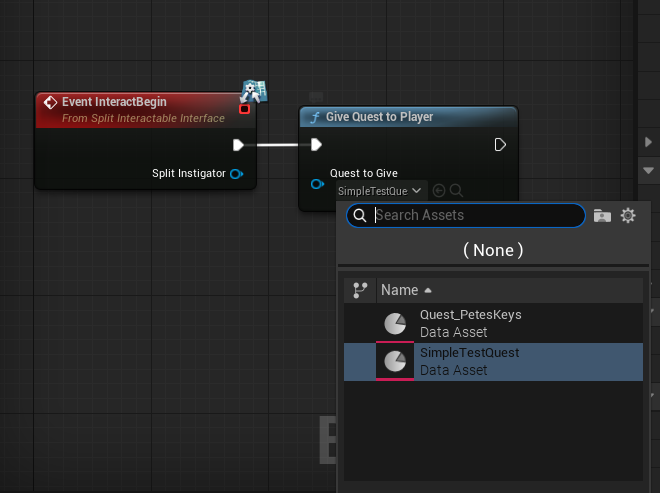
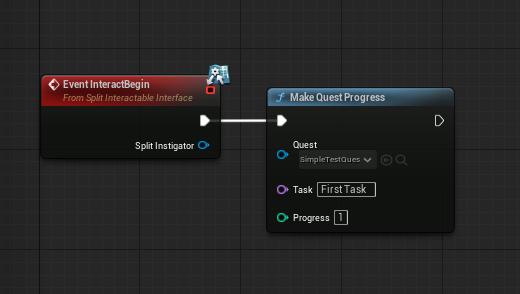
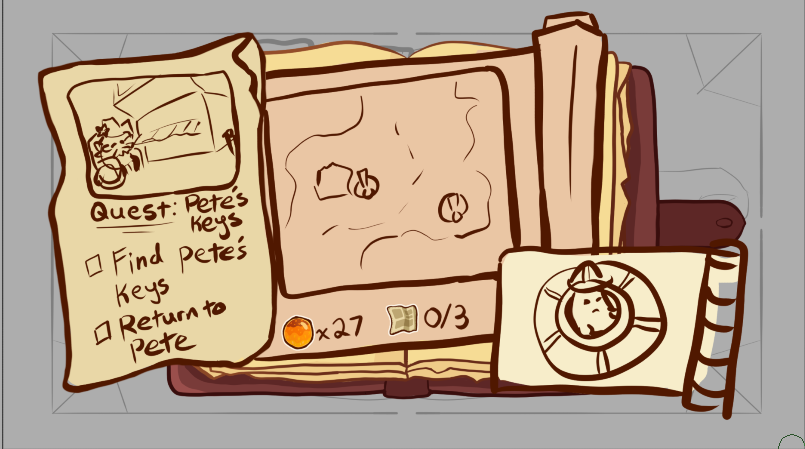
Quest System
I designed the quest system similarly to the NPC dialog system, using Unreal's data assets to create a custom Quest Asset, which designers could configure to create custom quests. The quest system handles the creation of UI display dynamically created from the configured Quest Asset. Additionally, designers have fully access to the functionality of the quest system within blueprint through custom Blueprint Functions. Additionally, the quest system progress is persistent between levels and reloads.

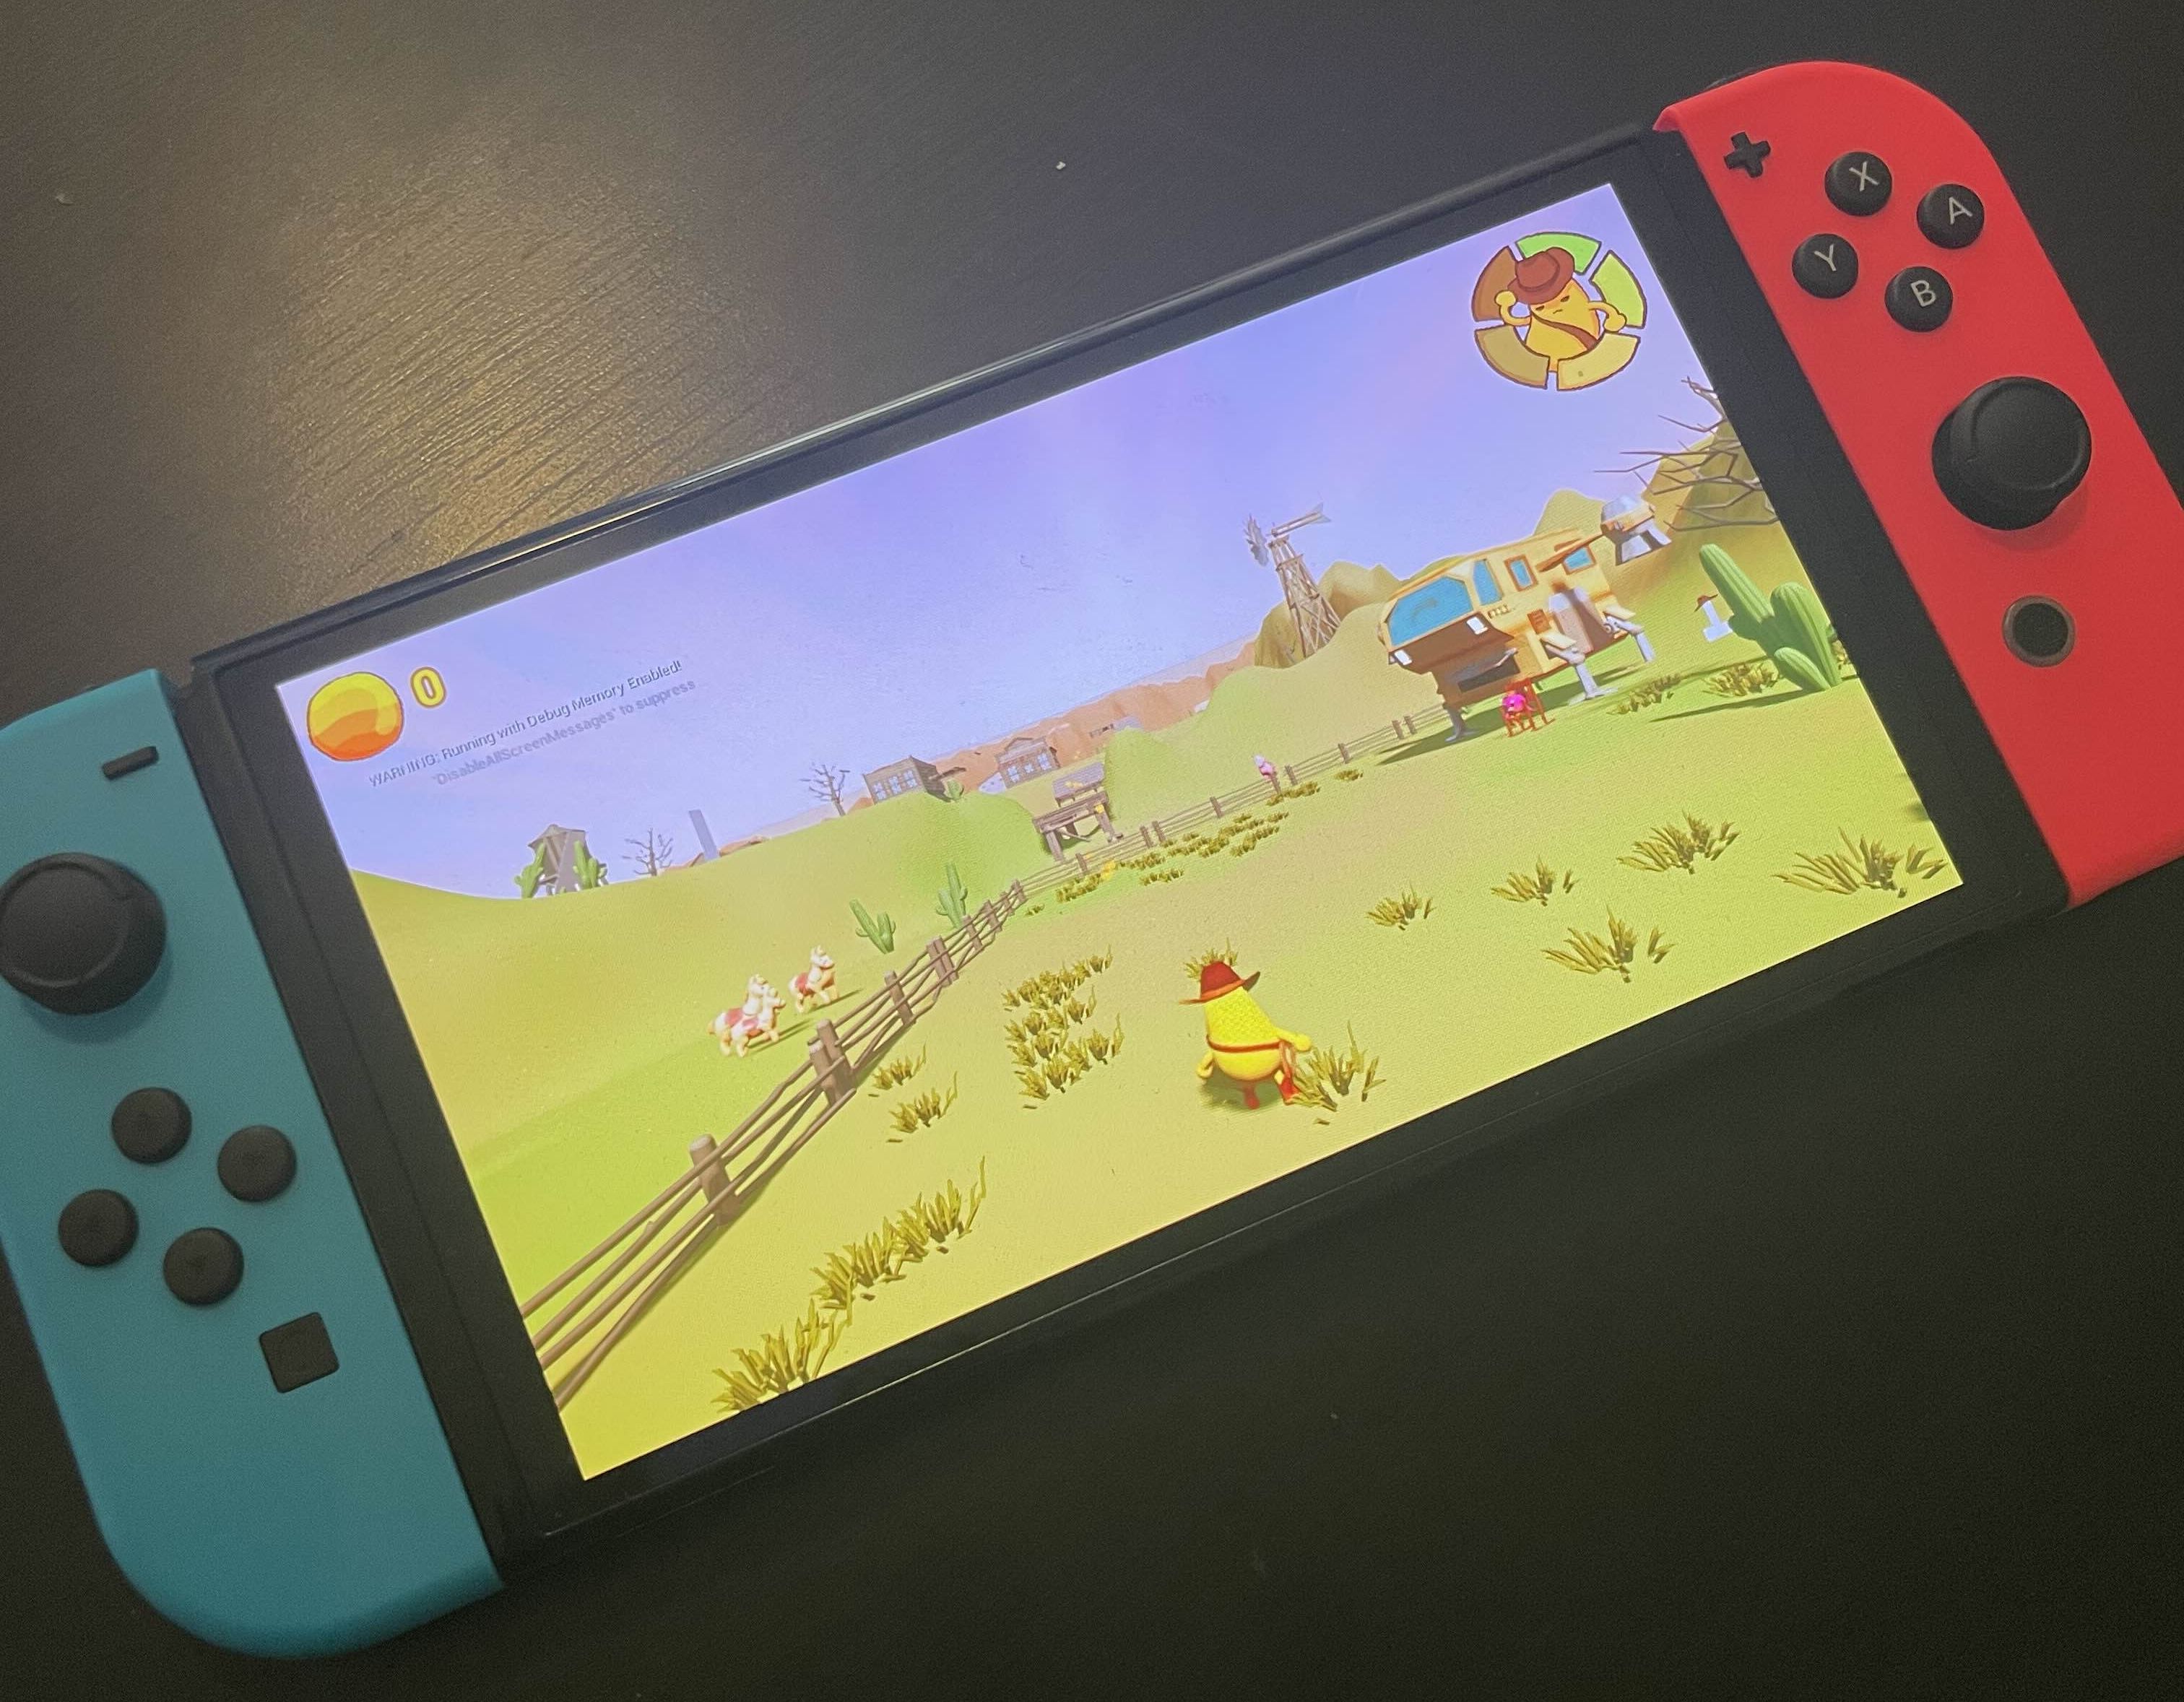
Nintendo Build
Creative and Design Contributions
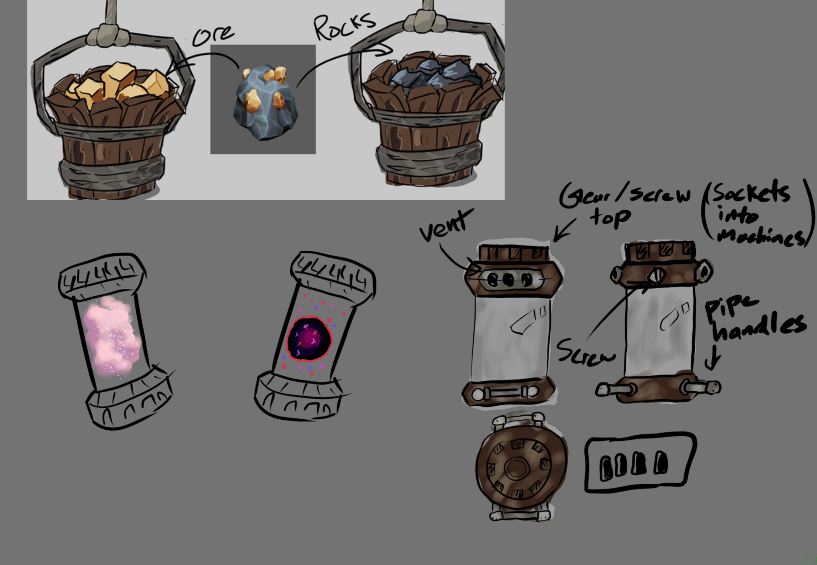
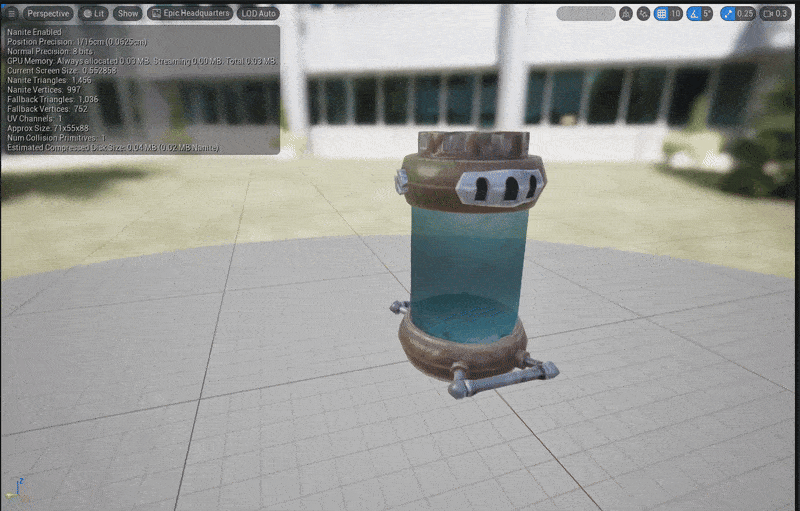
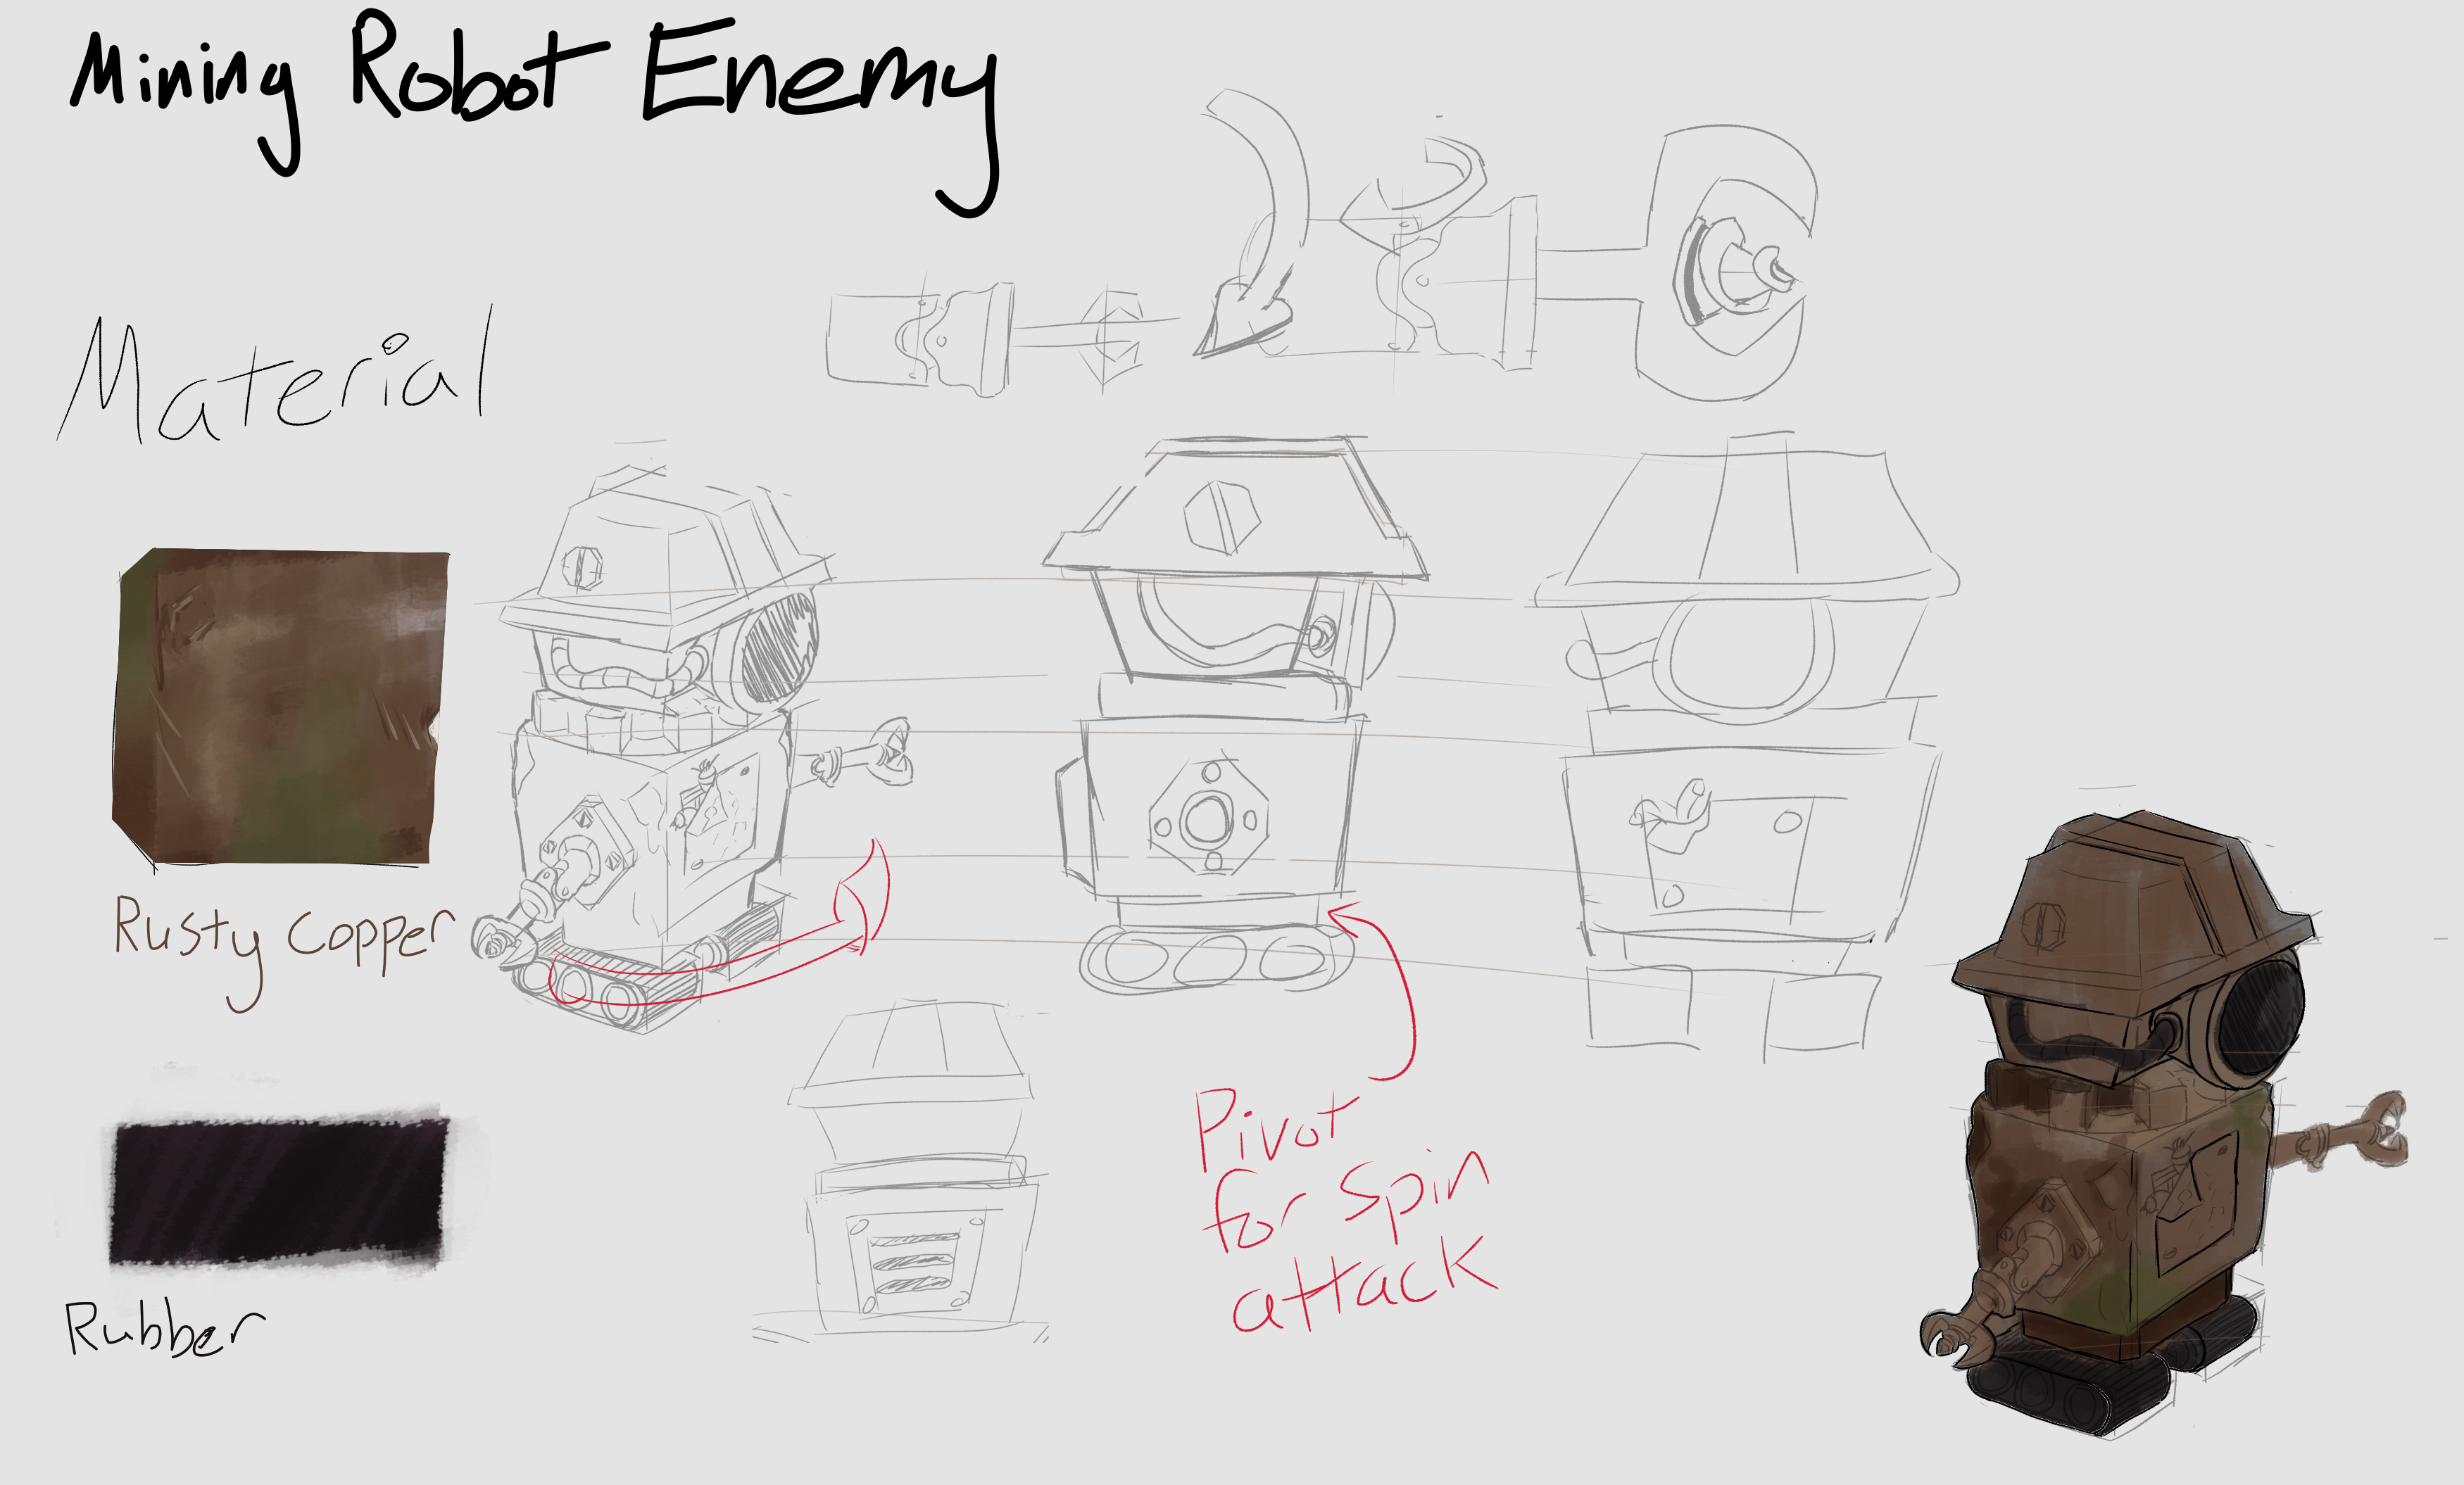
In additiona to my coding and design responsibilities, I would also contribute to the concept art and aesthetic design for the game. Here are some of the more notable artistic design concepts I contributed for the game.
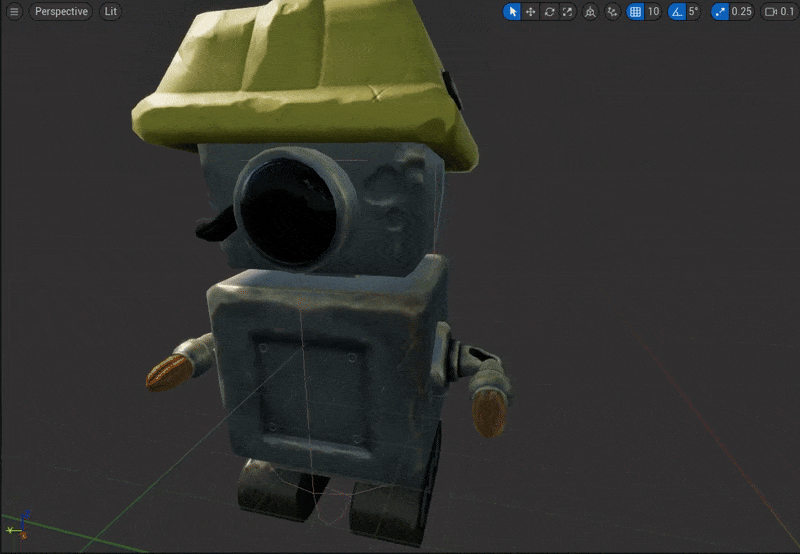
Robot Concept
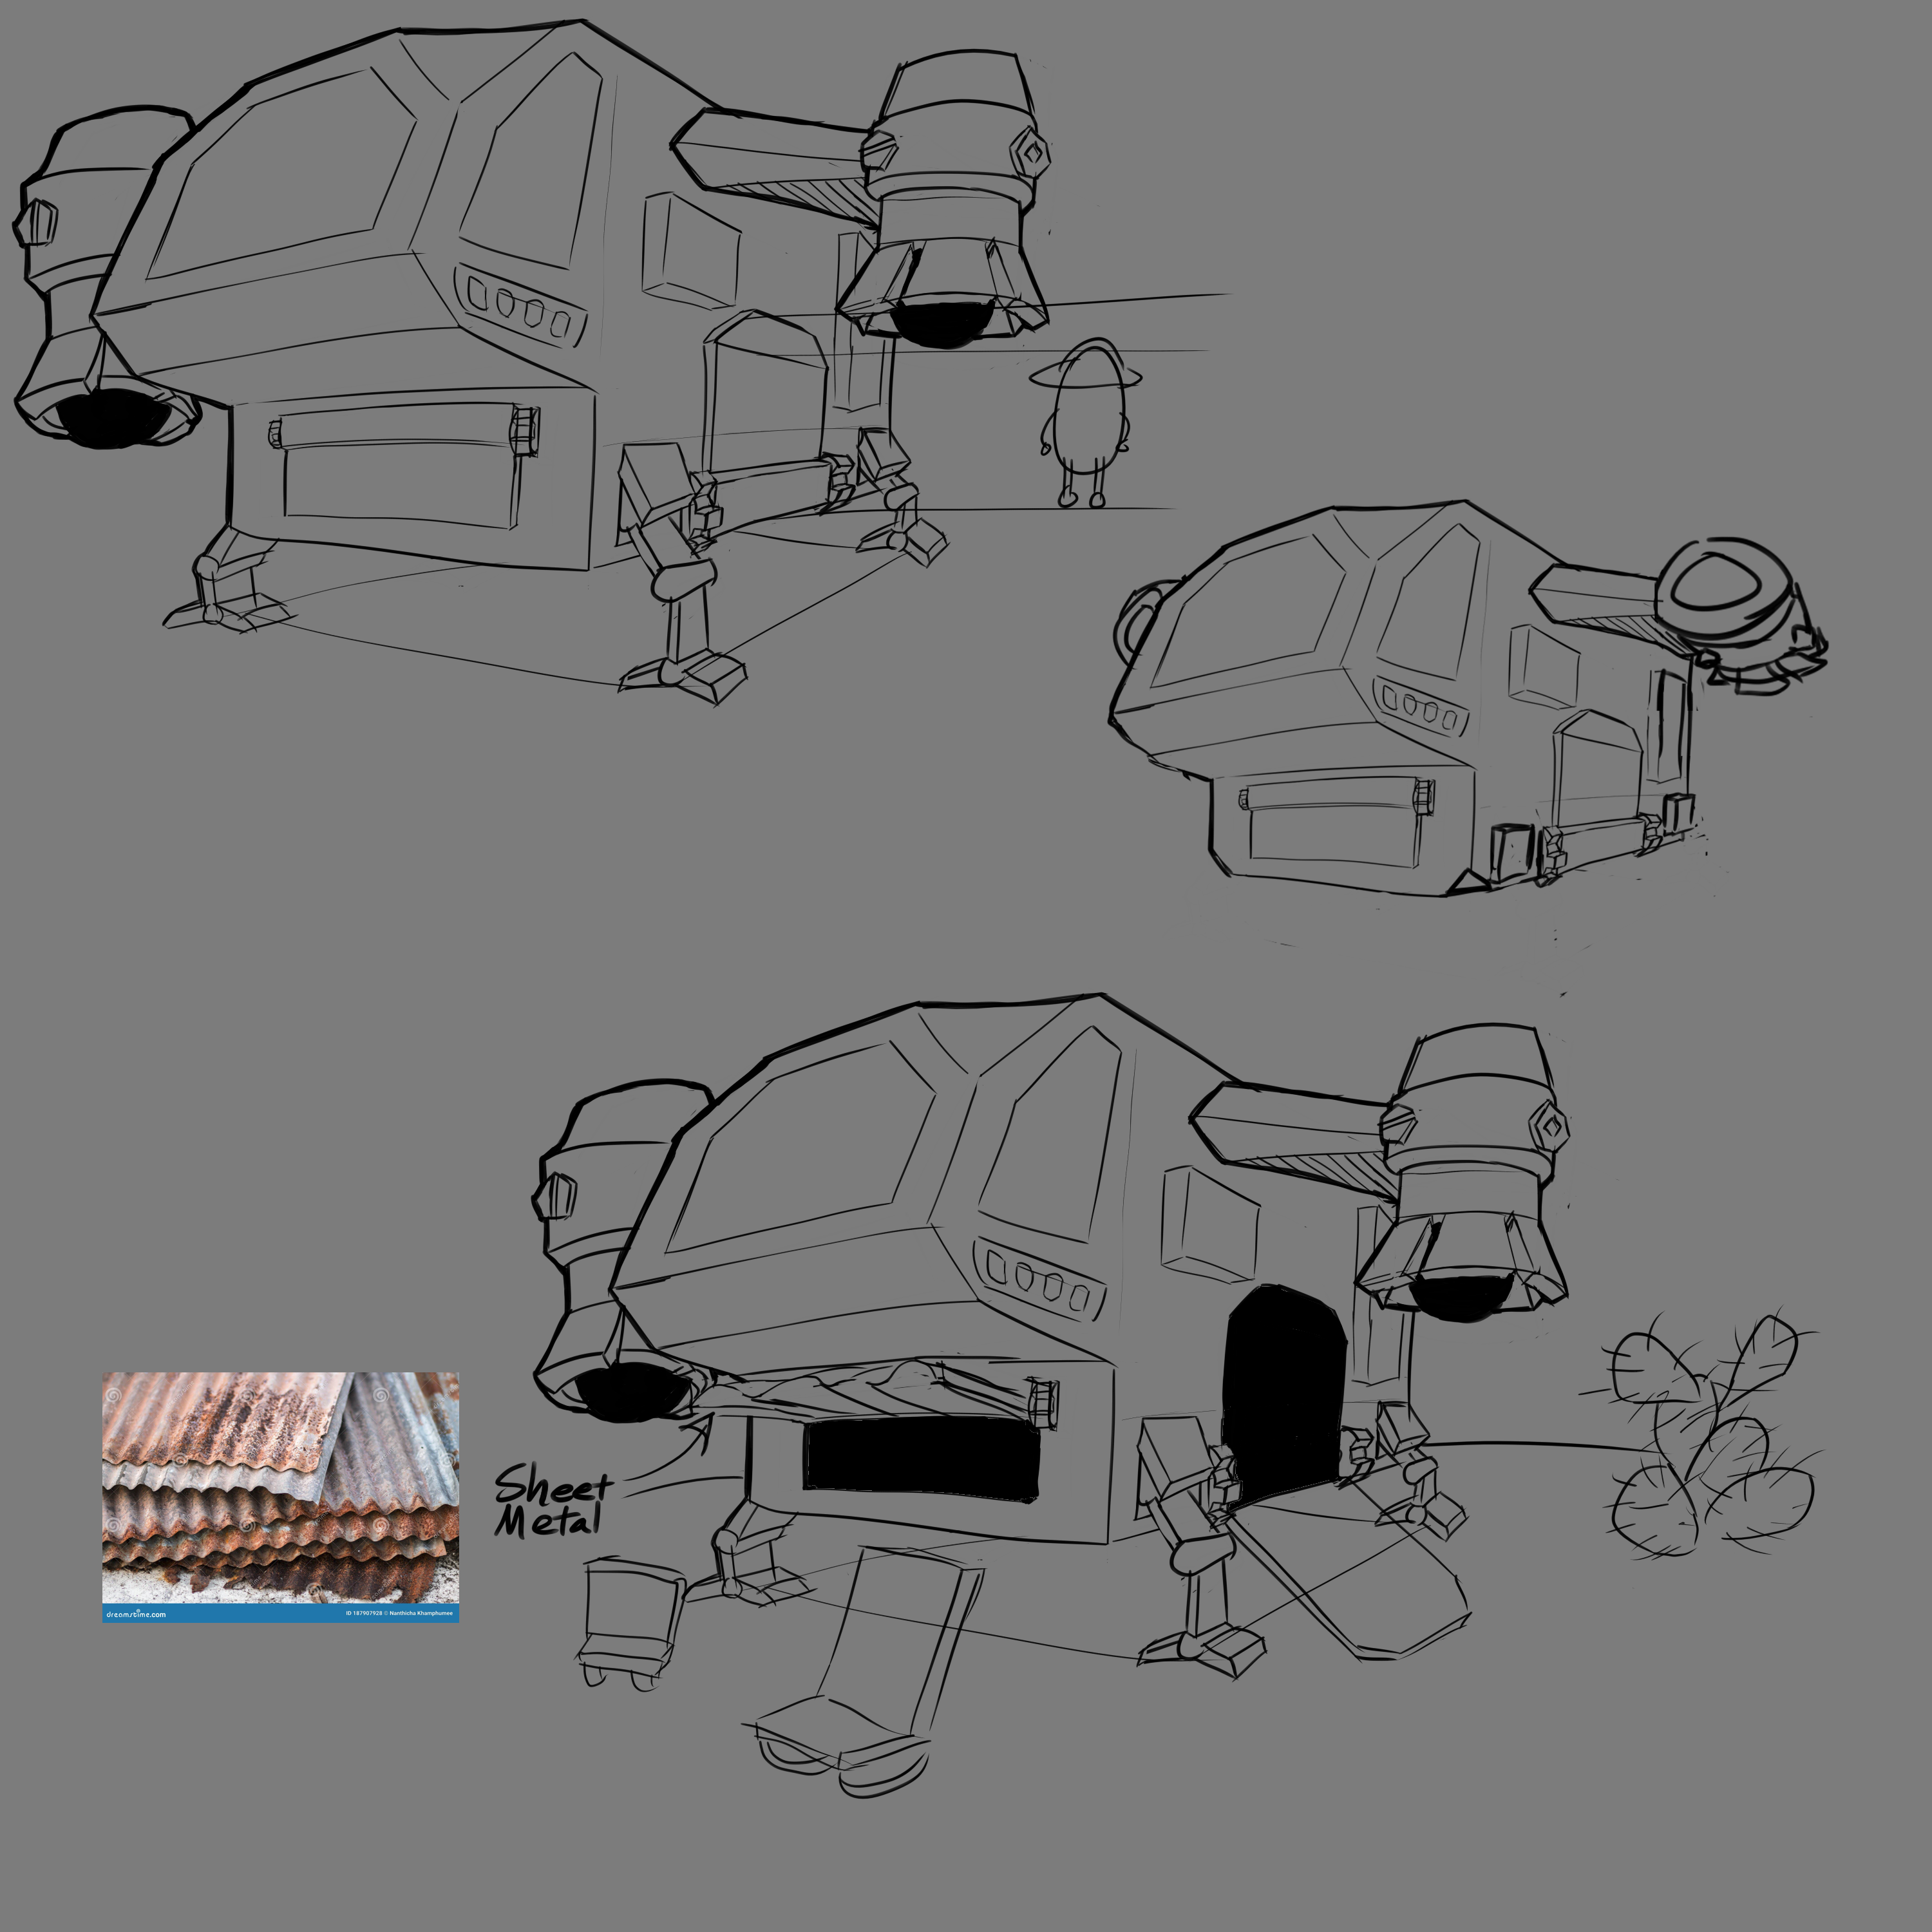
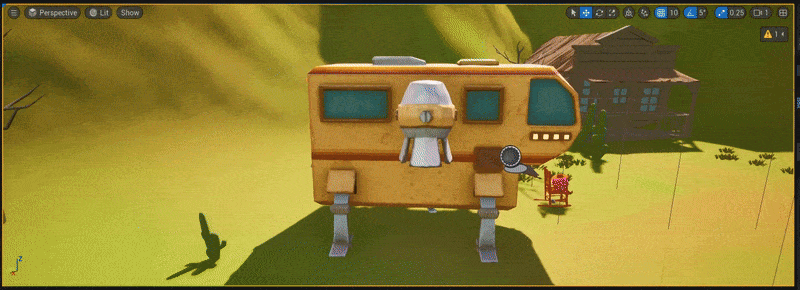
Ship Concept
UI Concept
Spacey Gas Canister